Welcome to the Seven Seas
An introduction to Rotte e Cannoni — a pirate multiplayer browser game.
Rotte e Cannoni is a strategy game set in a pirate archipelago. Every player commands their own home island, raises buildings, recruits a crew, launches a fleet and sails in real time to trade at the Ports, hunt for treasure, bring down a Kraken or take on other captains.
🎯 What you are here to do
- Develop the island — build and upgrade to produce resources and open up new possibilities.
- Recruit a population — draw pirates to the Tavern, put them to work and keep them content.
- Launch a fleet — from the light Brig to the armoured Galleon, every ship has its role.
- Explore the treasure islands — dig, hunt, gather ingredients, mine rare materials.
- Trade at the NPC Ports — restock the ship, pay customs to keep attackers off, deal at the Bazaar.
- Fight at sea — gunports open, cannons ready, automatic fire in real time; take on captains and Kraken.
- Climb the leaderboard — 7 scoring categories, 4 PvP bands, a global leaderboard.
🗺 The world
The map is a toroidal 100×100 tiles: cross an edge and you come out the other side. It holds the players' bases, 9 treasure islands laid out on a 3×3 grid, a handful of NPC Ports and several Kraken patrolling their appointed waters.
🎸 The three factions
At level 40 you choose a faction, which decides your exclusive buildings, research and ships: Pirates (plunder and battle), the Navy (the law of the seas, hunting wanted pirates), Merchants (neutral trade and production). You can change later, at a price. → Everything is in the Factions section.
The Factions of the Seven Seas
Pirates, Navy and Merchants: three ways of living at sea, held together by a balance of hunting, law and trade.
You begin under no flag. On reaching level 40 you choose one of the three factions: the choice shapes your style of play, unlocks exclusive buildings, research and ships, and grants a permanent bonus. You are not bound for ever: you can change faction later (at a price — see the bottom).
Pirates
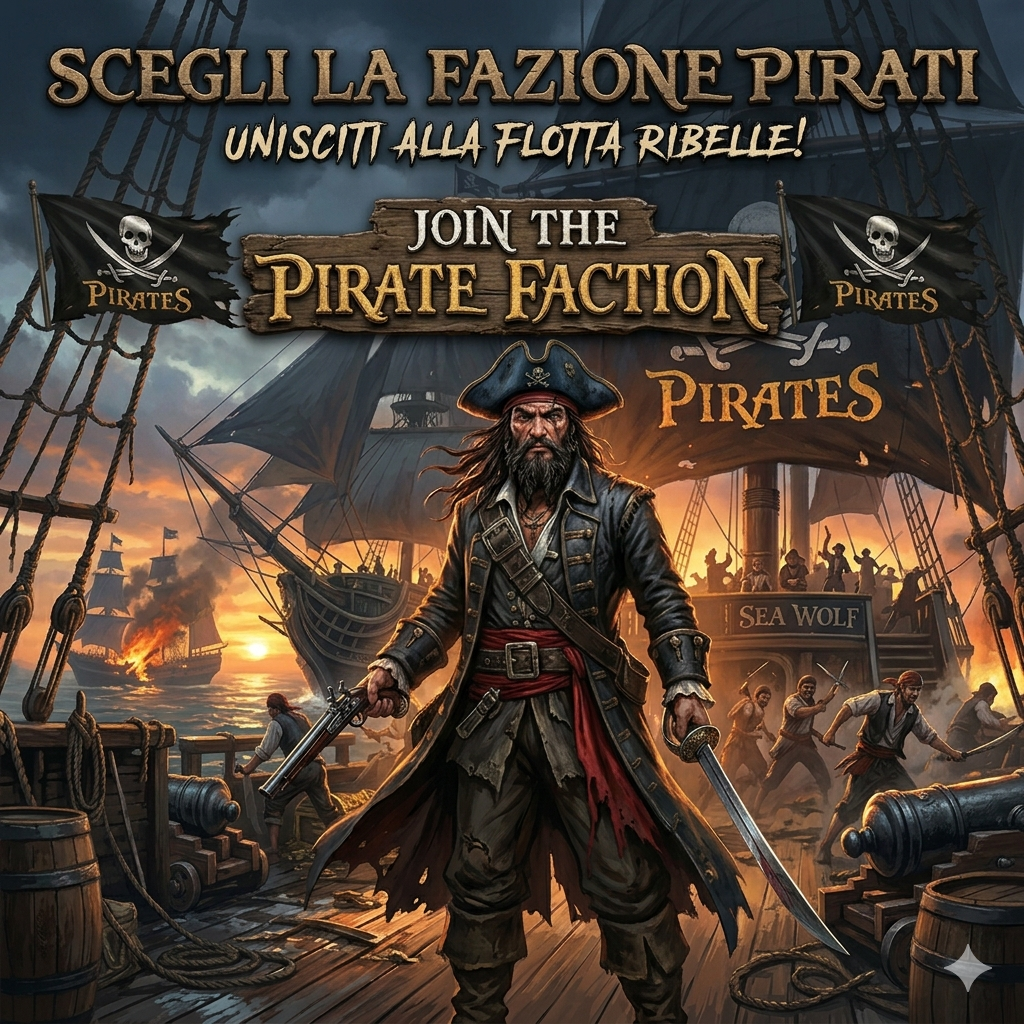
Bonus: Attack. They plunder ships and besiege islands, but the more terror they sow the bigger the bounty on their heads.
Navy
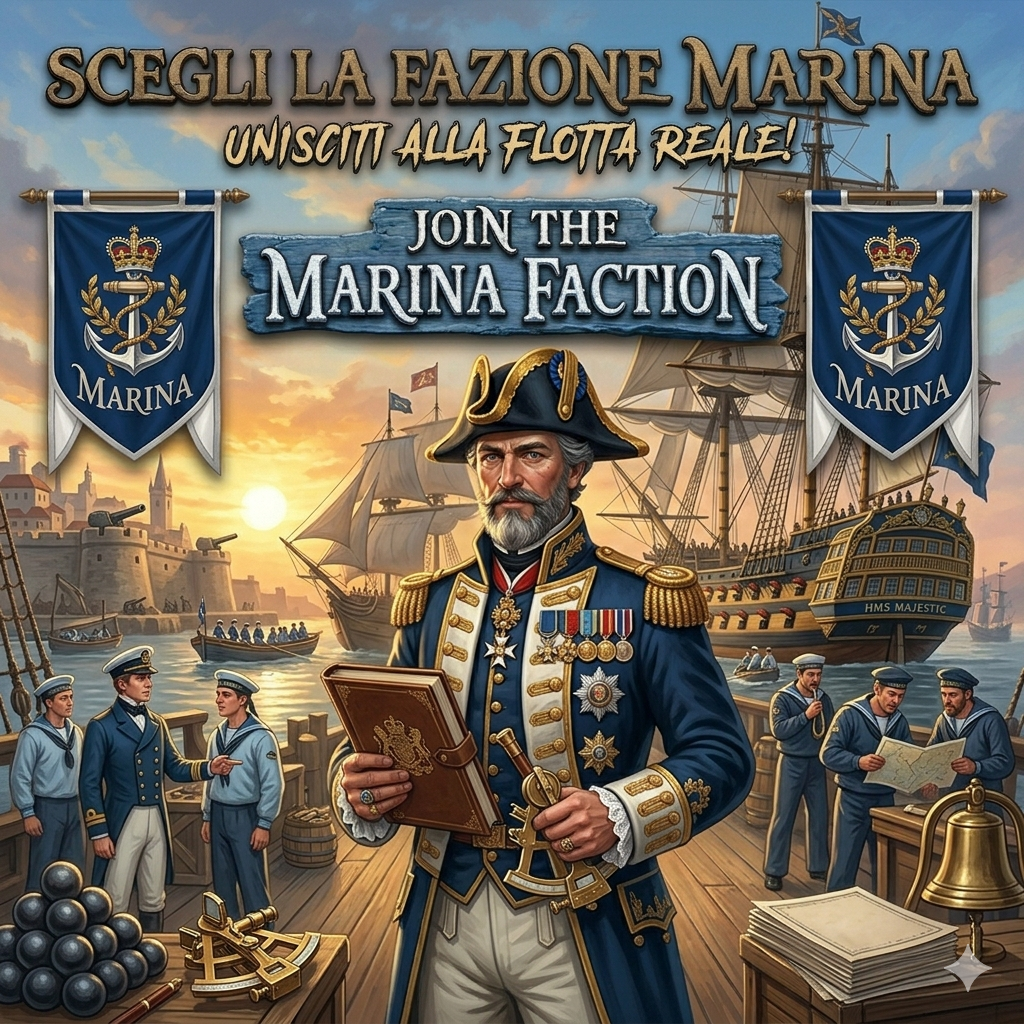
Bonus: Speed. They hunt wanted pirates, collect the ports' dues and keep order on the sea lanes.
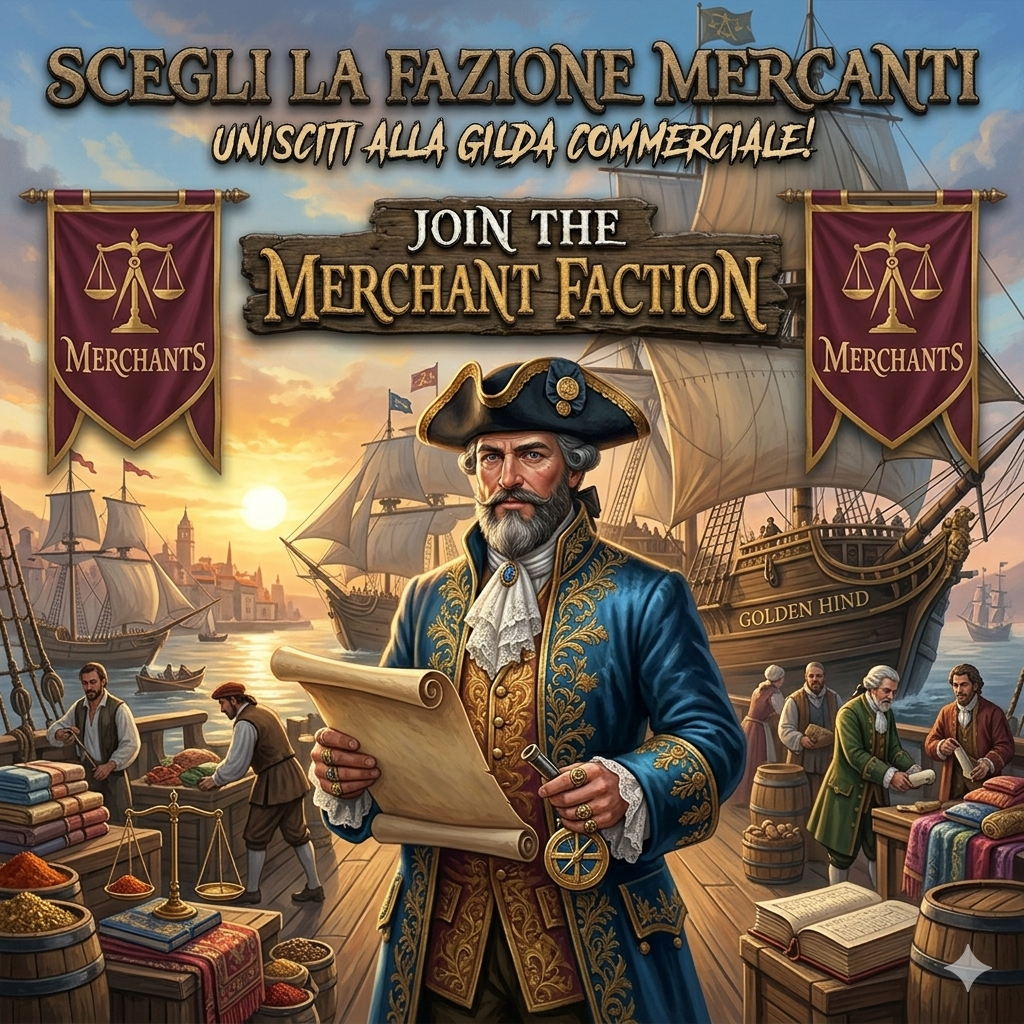
Merchants
Bonus: Production. Free and neutral, they live by trade: exclusive items and dealings with anyone.
🏴️ Pirates — the taking
Pirates can plunder other players' ships and besiege anyone's island. This is the way of the offensive and of spoils. But every crime has its price: the more you raid, the higher your bounty climbs and the harder the Navy hunts you.
⚖️ The Navy — the law of the seas
The Navy is the armed hand of the Crown. Its purpose is hunting wanted pirates:
- Capture: by sinking a pirate with a bounty on the open sea, the Navy collects the whole reward from the royal treasury.
- Inspection and shadowing: by mooring at an island the Navy can inspect the ships at anchor and quietly mark a wanted pirate. For the hours that follow, every time that pirate sets sail the Navy is told, and gives chase.
- Collector of dues: a share of the dues paid at the ports flows into a Navy treasury, paid out periodically to all sailors as a dividend.
💰 Merchants — free trade
Merchants are neutral: they do not hunt and are not hunted (so long as they keep their weapons down). They excel at production and at making exclusive items, and they can sell mooring permits from their own Customs House (see below). They are the engine of the seas' economy, courted by everyone.
☠️ The Bounty
The bounty is the "price on the head" of a Pirate, the measure of how dangerous they are:
- It rises when they plunder ships, besiege islands or sink other players (sinking counts for more).
- It falls only while the pirate stays holed up in port and idle: as soon as they sail out to raid, it starts climbing again.
- It is wiped out when the Navy sinks them on the open sea and collects the reward.
For a Pirate it cuts both ways: a high bounty is prestige and terror, but also a target painted on your back.
⚓ Customs for a fee
To moor at another player's island you need a Customs permit. The owner may grant it free or put it up for sale at a price (a toll): whoever pays gets a temporary permit. Manage the toll and your purchases from the Customs window on your island (you must have the Customs House built).
⚔ Pirate Brotherhoods
Pirates can found or join a Brotherhood: a blood pact between captains. Members of the same Brotherhood get automatic mooring permits at their allies' islands and are told at once when a companion's island is besieged.
Every faction can look up the active Brotherhoods and their members on the Brotherhoods page.
🔄 Changing faction
Changed your mind? From Character → Change Faction you can move to another faction by paying a cost in gold and observing a cooldown. Changing flag is a turncoat's act, and it has consequences depending on which faction you leave:
- If you were a Pirate, you lose your bounty.
- If you were a Merchant, you lose your trade points.
- Either way, any non-basic clothing is taken off your avatar (it stays in the warehouse and you can put it back on).
The Island's Buildings
Every building has its own part to play. Many take workers, raising their yield by up to +20%.
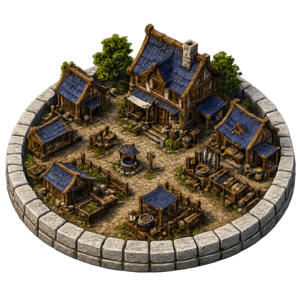
Village
Sets the greatest number of islanders on the island: 10 places per level. It is what lets you recruit at the Tavern: with no place free you cannot take in new pirates.
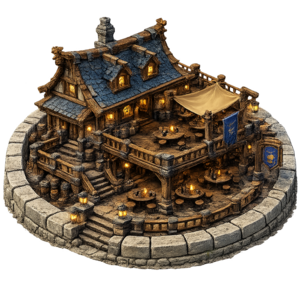
Tavern
Produces 2 visitor slots per level every hour. Lets you hold parties (Cards Evening / Lively Party / Pirate Festival) to raise morale, and to appoint an informant who improves the social mood.
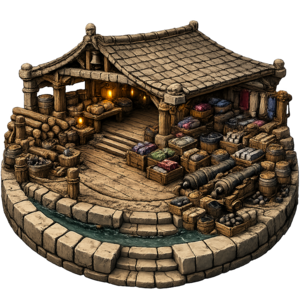
Warehouse
Raises the maximum you can hold of gold, wood, rum, metal, cloth and research points. Without enough storage, production stops at the cap.
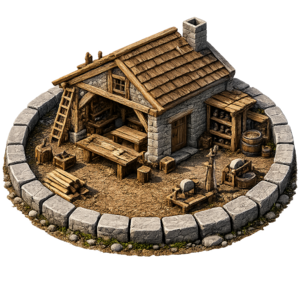
Carpenter's Shop
Produces wood every tick. Favours workers with good intelligence and strength, for up to +20% output.
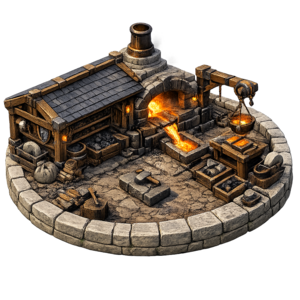
Foundry
Produces metal every tick. Wants workers with high strength (weight 70/level): warriors and brutes excel in this role.
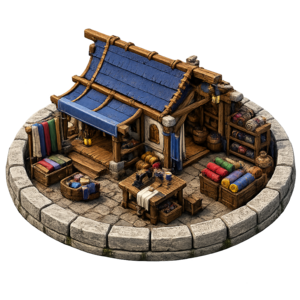
Tailor's Shop
Produces cloth and clothing for your character. Values intelligence (weight 60/level): scholars make the best tailors.
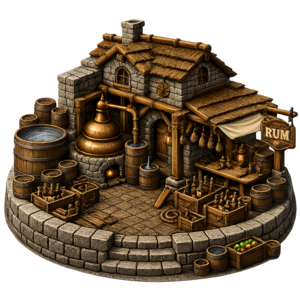
Distillery
Produces rum every tick and allows drawing off: load an empty barrel or an empty bottle and fill it with the rum produced, giving you consumable items to use anywhere.
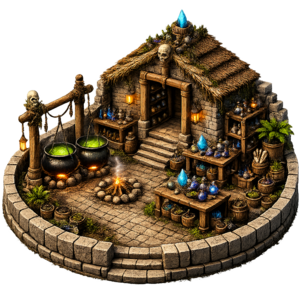
Apothecary
A building with two purposes. The Study lets the resident apothecary brew potions and remedies (recipes with ingredients from the islands). The Infirmary has 10 beds per level: with an apothecary on duty, patients recover +1 Health every 5 minutes (at the cost of rum).
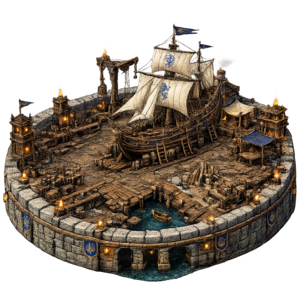
Shipyard
Lets you build and upgrade ships. Every type of ship needs a minimum level: Brig Lv 1, Corvette Lv 2, Merchantman Lv 3, Galleon Lv 4.
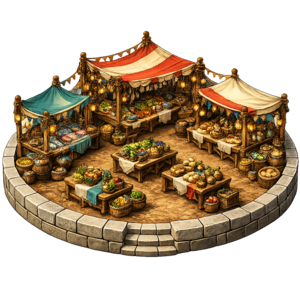
Market
Creates sell and buy orders for resources, aimed at other players. Your offers are shown to captains who moor at the Ports (see that section).
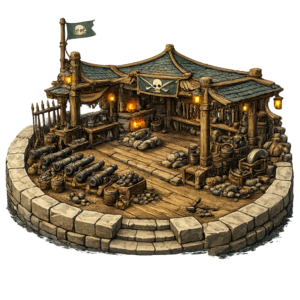
Armoury
A crafting system with a multi-slot queue (Lv 1: 2 slots, Lv 10: 20 slots). Produces cannons, ammunition in three calibres (with special variants) and higher grades of powder. In parallel it gathers gunpowder by itself: draw it off into empty barrels loaded at the armoury.
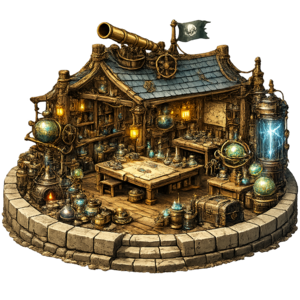
Research Laboratory
Unlocks the nodes of the research tree by spending research points. It is also the only building that makes empty wooden barrels (4 recipes: teak, oak, lava, petrified), without which you cannot draw off powder or rum.
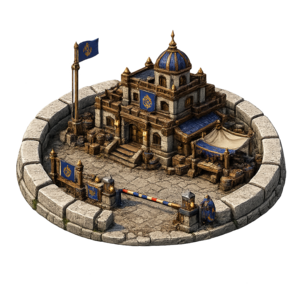
Customs House
Issues mooring permits to other players. Without a permit a foreign ship cannot anchor at your island. Not to be confused with the NPC Port Customs, which protects your ship at sea.
👥 Worker slots and the production bonus
Productive buildings take islanders as workers. The slots available are floor(level / 2): a Carpenter's Shop at Lv 6 has 3 slots, a Foundry at Lv 9 has 4.
The greatest bonus is +20% on output, reached when the sum of the workers' statistics hits the building's target. Each building favours different statistics:
| Building | Strength | Intelligence | Luck | Adventure |
|---|---|---|---|---|
| Carpenter's Shop | 30/lv | 40/lv | 30/lv | 25/lv |
| Foundry | 70/lv | 40/lv | 20/lv | 30/lv |
| Tailor's Shop | 10/lv | 60/lv | 30/lv | 25/lv |
| Distillery | 10/lv | 30/lv | 20/lv | 25/lv |
ratio = min(1.0, sum_of_stat / (target × level)). The final bonus is the mean of the ratios × 20%. Maxing one stat is not enough: the ratios of all the relevant stats count.
🔒 Building requirements
Some buildings and levels need other buildings or completed research:
| Building | Level | Requirements |
|---|---|---|
| Carpenter's Shop | Lv 4 | Village Lv 2 |
| Foundry | Lv 1 | Carpenter's Shop Lv 2 |
| Foundry | Lv 5 | Workshop Lv 3 |
| Tailor's Shop | Lv 1 | Village Lv 1 |
| Tailor's Shop | Lv 4 | Carpenter's Shop Lv 2 |
| Shipyard | Lv 1 | Port Lv 1 |
| Shipyard | Lv 5 | Port Lv 3 + Workshop Lv 2 + Hull Strength |
| Distillery | Lv 1 | Tavern Lv 1 |
| Apothecary | Lv 1 | Village Lv 2 |
| Market | Lv 3 | Port Lv 2 |
💵 Refunds on cancelling
| Operation cancelled | Resources refunded |
|---|---|
| Building or ship under construction | 75% |
| Research at the Laboratory | 50% |
| Recipe at the Armoury / Apothecary / Laboratory | 50% (ingredients included) |
The Population
The islanders are the heart of the island: they work, they sail and they fight.
👥 How they arrive
The Tavern produces level × 2 random visitors every hour. Click "Take in" to make them permanent islanders. Once recruited, that slot is gone for the hour.
🌟 Reputation and the quality of visitors
The island's reputation (0-100) sets the minimum statistic of its visitors: a better-known island draws stronger characters on average.
| Standing | Score | Minimum stat |
|---|---|---|
| 🌊 Unknown | 0-19 | 0 (no filter) |
| ⚓ Known | 20-39 | 10 |
| ⚔️ Renowned | 40-59 | 22 |
| 🏆 Famous | 60-79 | 35 |
| 👑 Legendary | 80-100 | 50 |
Reputation is a weighted mean of 4 things: recent activity (30%), how full the village is (25%), average morale (25%), parties held (20%).
👤 The six kinds of islander
Every islander has 5 statistics (Health, Strength, Intelligence, Luck, Adventure) from 0 to 100. Their type is worked out when they are generated, from these thresholds:
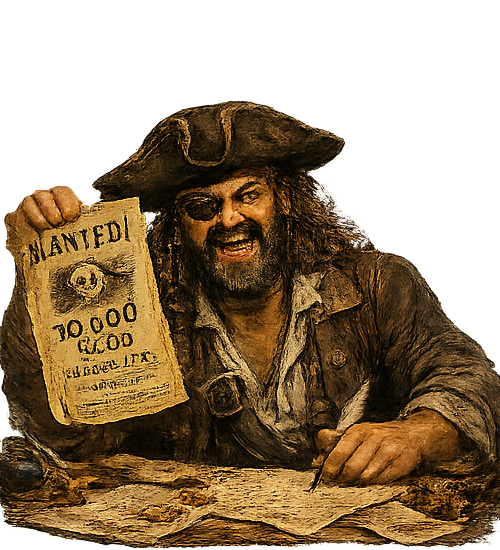
Warrior
Threshold: Strength ≥ 75 and Strength ≥ Intelligence
Fighting, the foundry, the guns
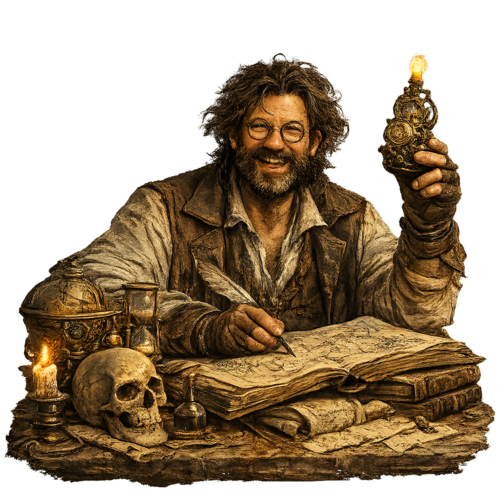
Scholar
Threshold: Intelligence ≥ 85
Tailoring, research, the helm
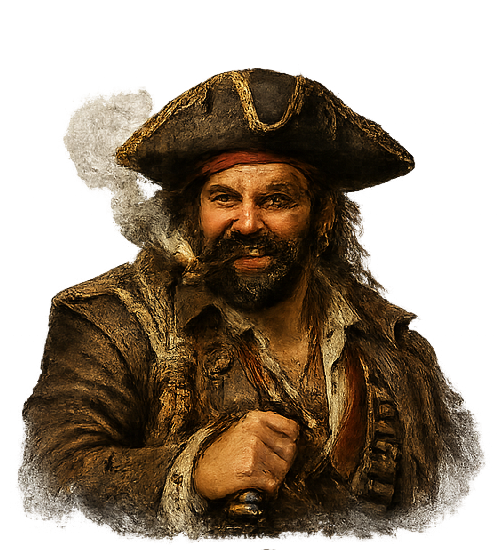
Adventurer
Threshold: Luck > 50 and Adventure > 50
The distillery, digging for treasure, hunting
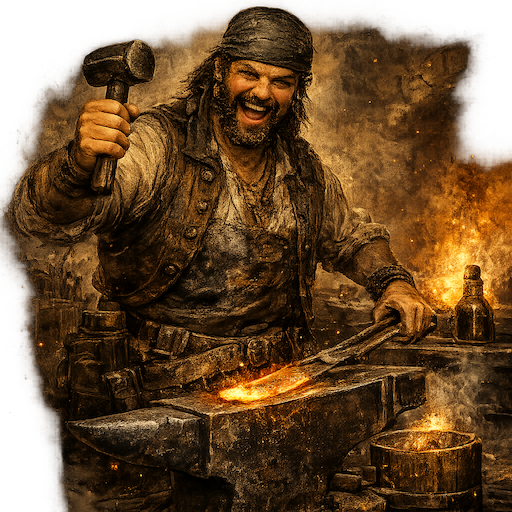
Brute
Threshold: Health ≥ 90
Deckhand work, soaking up damage
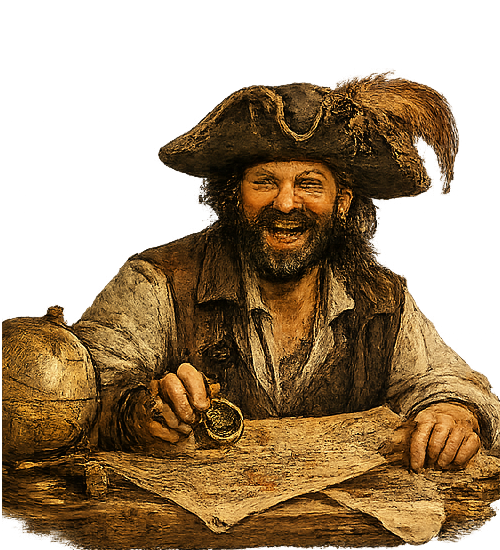
Apothecary
Threshold: Int, Health, Luck > 10 (balanced)
The only type able to brew potions and to work in the Apothecary's Study
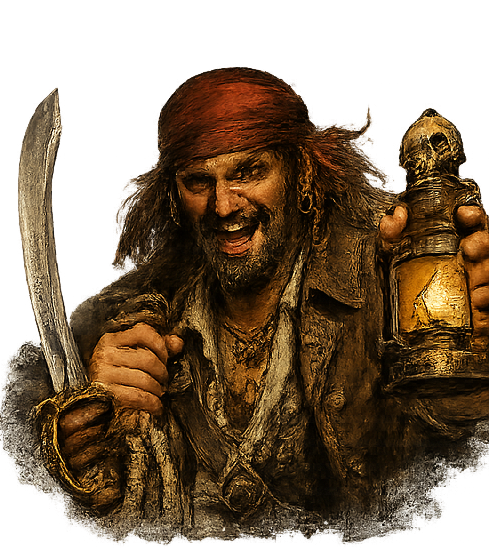
Sailor
Threshold: The default when no other threshold is met
Balanced, a hand at everything
💜 Morale
Every islander has a morale (0-100) that starts at 100 when they are recruited. Morale falls by 1 a day (an automatic cron) and rises in several ways: by holding parties at the Tavern, by finding treasure at sea, by delivering port commissions or by using the consumables made for it.
Weekly departures: once a week the cron rolls 1-100 for every islander; if the roll beats their morale, that islander leaves the island. A pirate on 30 morale has a 70% chance of walking off every week.
Parties at the Tavern
| Party | Cost | Morale | Cooldown | Requirement |
|---|---|---|---|---|
| An Evening of Cards and Dice | 150 💰 + 80 🍺 | +5 | 8h | - |
| Lively Party | 500 💰 + 200 🍺 | +12 | 24h | - |
| Pirate Festival | 1,500 💰 + 400 🍺 | +20 | 48h | 1× loot from the treasure islands |
Other ways to raise morale
The bonus applies to the player's whole population (every island owned), up to a ceiling of 100. Some events depend on the faction the player has chosen.
| Event | Morale | Faction |
|---|---|---|
| Treasure found with a map (from a bottle or from the Tavern) | +1 | - |
| Strongbox found with a combined map (4 pieces) | +10 | - |
| Port commission delivered | +5 | - |
| Enemy ship sunk or successfully plundered | +5 | Pirates |
| Enemy NPC ship sunk | +5 | - |
| Trade delivery completed | +5 | Merchants |
| Bounty collected on a wanted pirate | +5 | Navy |
| Morale Tonic / other consumables made for it | varies | - |
😴 Tiredness
Tiredness (0-100) measures how worn out an islander is. It rises with every action (hunting, gathering, digging, fighting) and falls at night through the tick_fatigue_recovery cron.
Above the blocking threshold (80 by default) an islander can do nothing more until they have rested.
| Action | Tiredness |
|---|---|
| Harmless hunt | 5 |
| Medium hunt | 12 |
| Dangerous hunt | 22 |
| Deadly hunt | 35 |
| Gathering ingredients | 8 |
| Mining materials | 12 |
| Digging for treasure | 10 |
| Battle (per crew member) | 20 |
⚓ A ship's crew
Islanders taken aboard fill three roles:
- Helmsman (intelligence + luck) — accuracy of sailing, speed.
- Gunners (strength + intelligence) — the power and accuracy of the cannons.
- Deckhands (health + strength) — general endurance, working the ship.
The Ships
Your fleet is the key to exploring, trading and fighting.
A player may own several ships, but only one at a time can be at sea. The others stay at anchor at the base. To build a ship you need the Shipyard at the required level, and the resources: wood, metal, cloth.
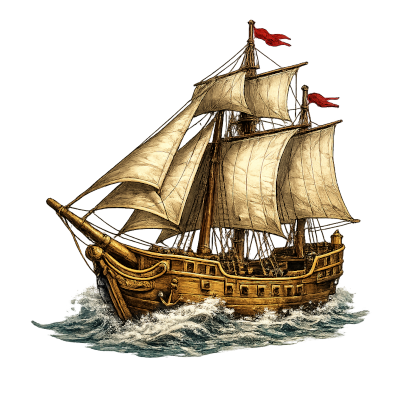
Brig
Fast (~20s/tile), well balanced, open to every faction. Every captain's first ship.
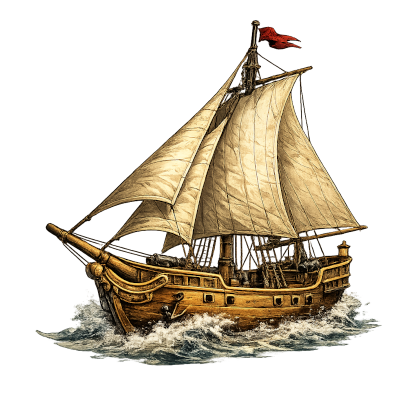
Sloop
Nimble and handy, ideal for quick scouting and for carrying treasure maps.
| Ship | Speed | Time/tile | Min. Shipyard | Faction |
|---|---|---|---|---|
| Brig | 90 | ~20s | Lv 1 | All |
| Corvette | 65 | ~28s | Lv 2 | Navy |
| Merchantman | 30 | ~60s | Lv 3 | Merchants |
| Galleon | 20 | ~90s | Lv 4 | Pirates |
⏳ HP and sinking
Every ship has hit points (HP). When they reach 0 the ship returns to docked on its own with HP restored to 15% of maximum, and the gunports close. To repair before a battle it is best to head back to base or to use the items made for it.
📦 The hold
A ship's hold has a fixed number of slots (it varies by type) for carrying items: cannons and ammunition, potions, ingredients, treasure maps, containers. Merchant ships have the roomiest holds.
👑 The Flagship
One vessel per captain, built piece by piece over months of work — and never truly lost.
The Flagship is not one more ship to put in the Shipyard queue: it is a project, unique to each player, built in pieces over weeks and made your own stage by stage. It does not replace the rest of the fleet — she is a ship like any other (she fights, sails and carries cargo under the same rules) — but she is the only one that, if she sinks, is not lost: she comes back to the quay as a wreck, ready to be refloated.
🔑 How she is unlocked
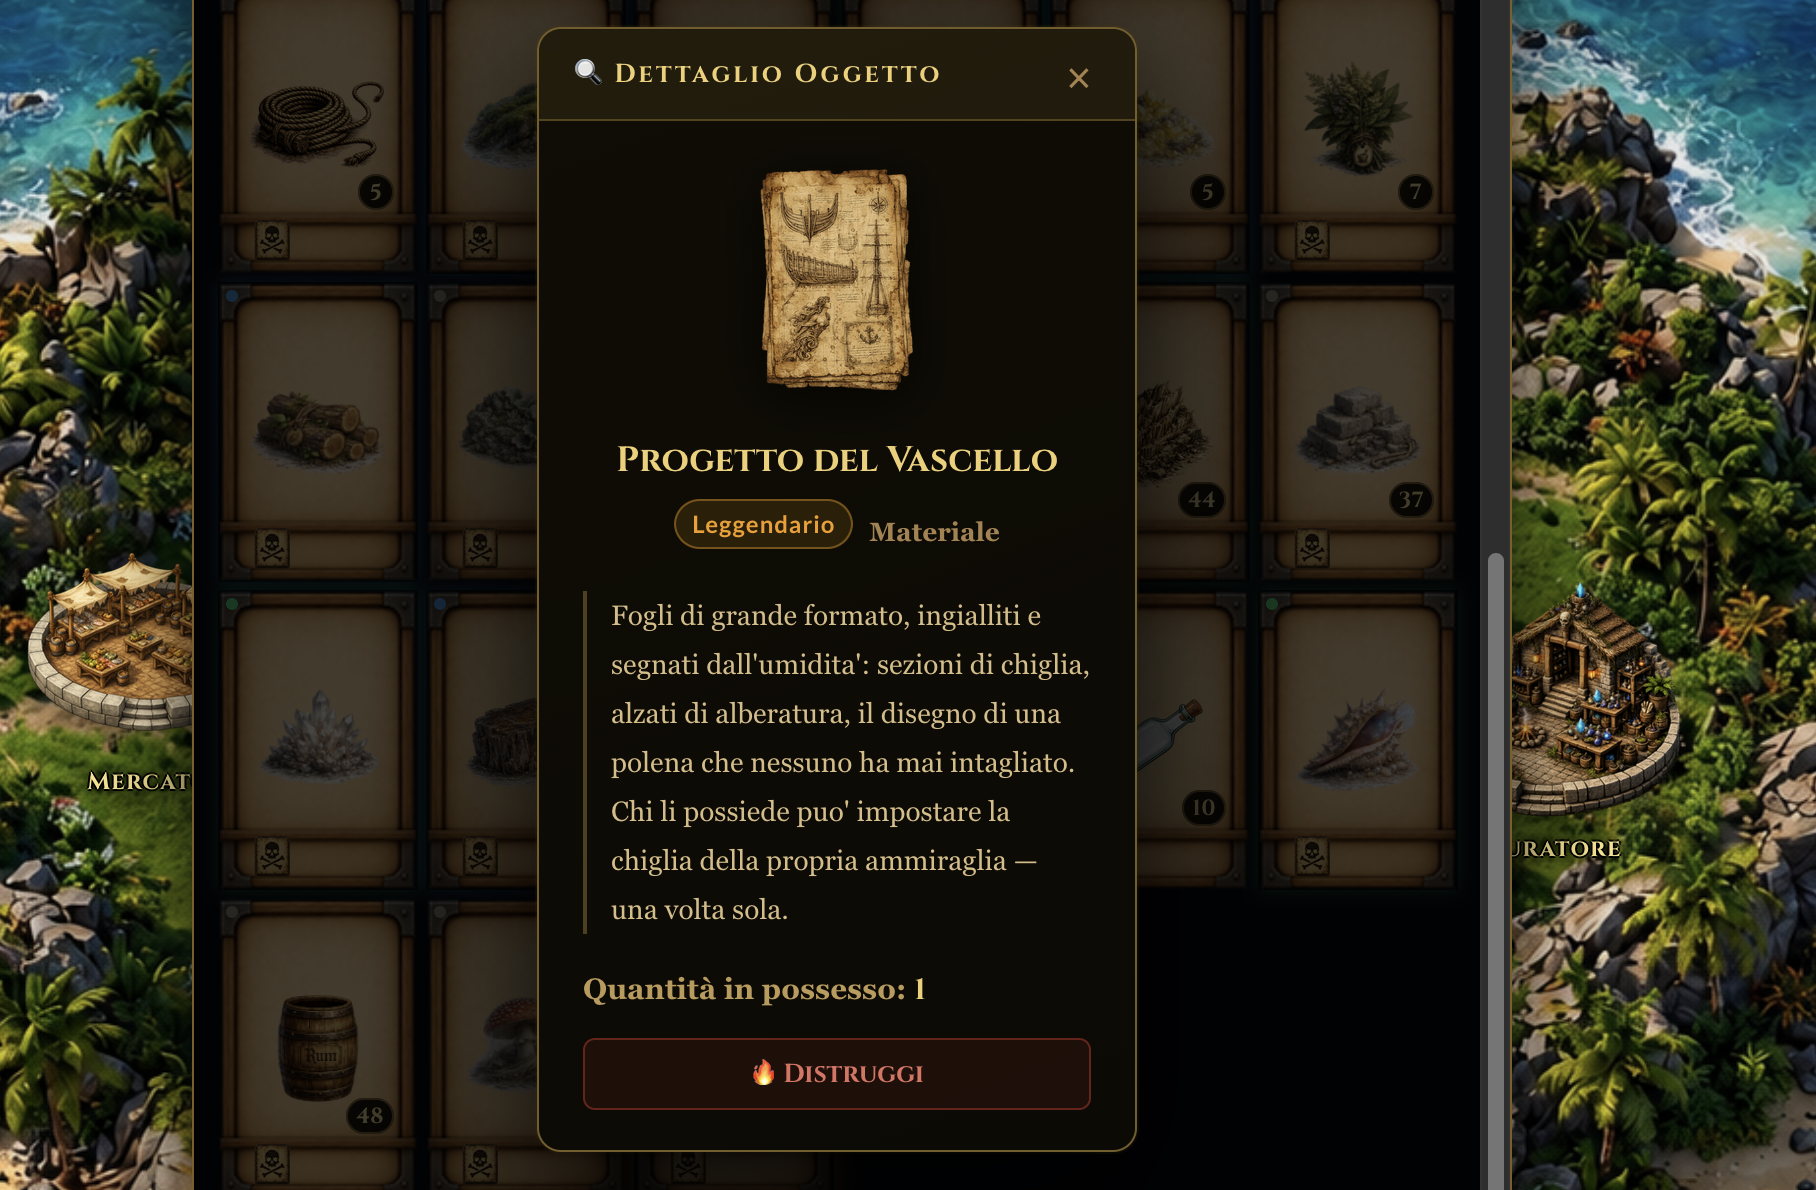
She cannot be bought and will not be found by chance: you need the Vessel's Plans, an item you get only by finishing the chain of missions for the Master Shipwright.
- At level 50 the mission "The Master Shipwright" appears — but it must be accepted by hand.
- The mission asks you to gather fine materials and bring them to the Master Shipwright, who in exchange hands over the Vessel's Plans, delivered straight to your warehouse.
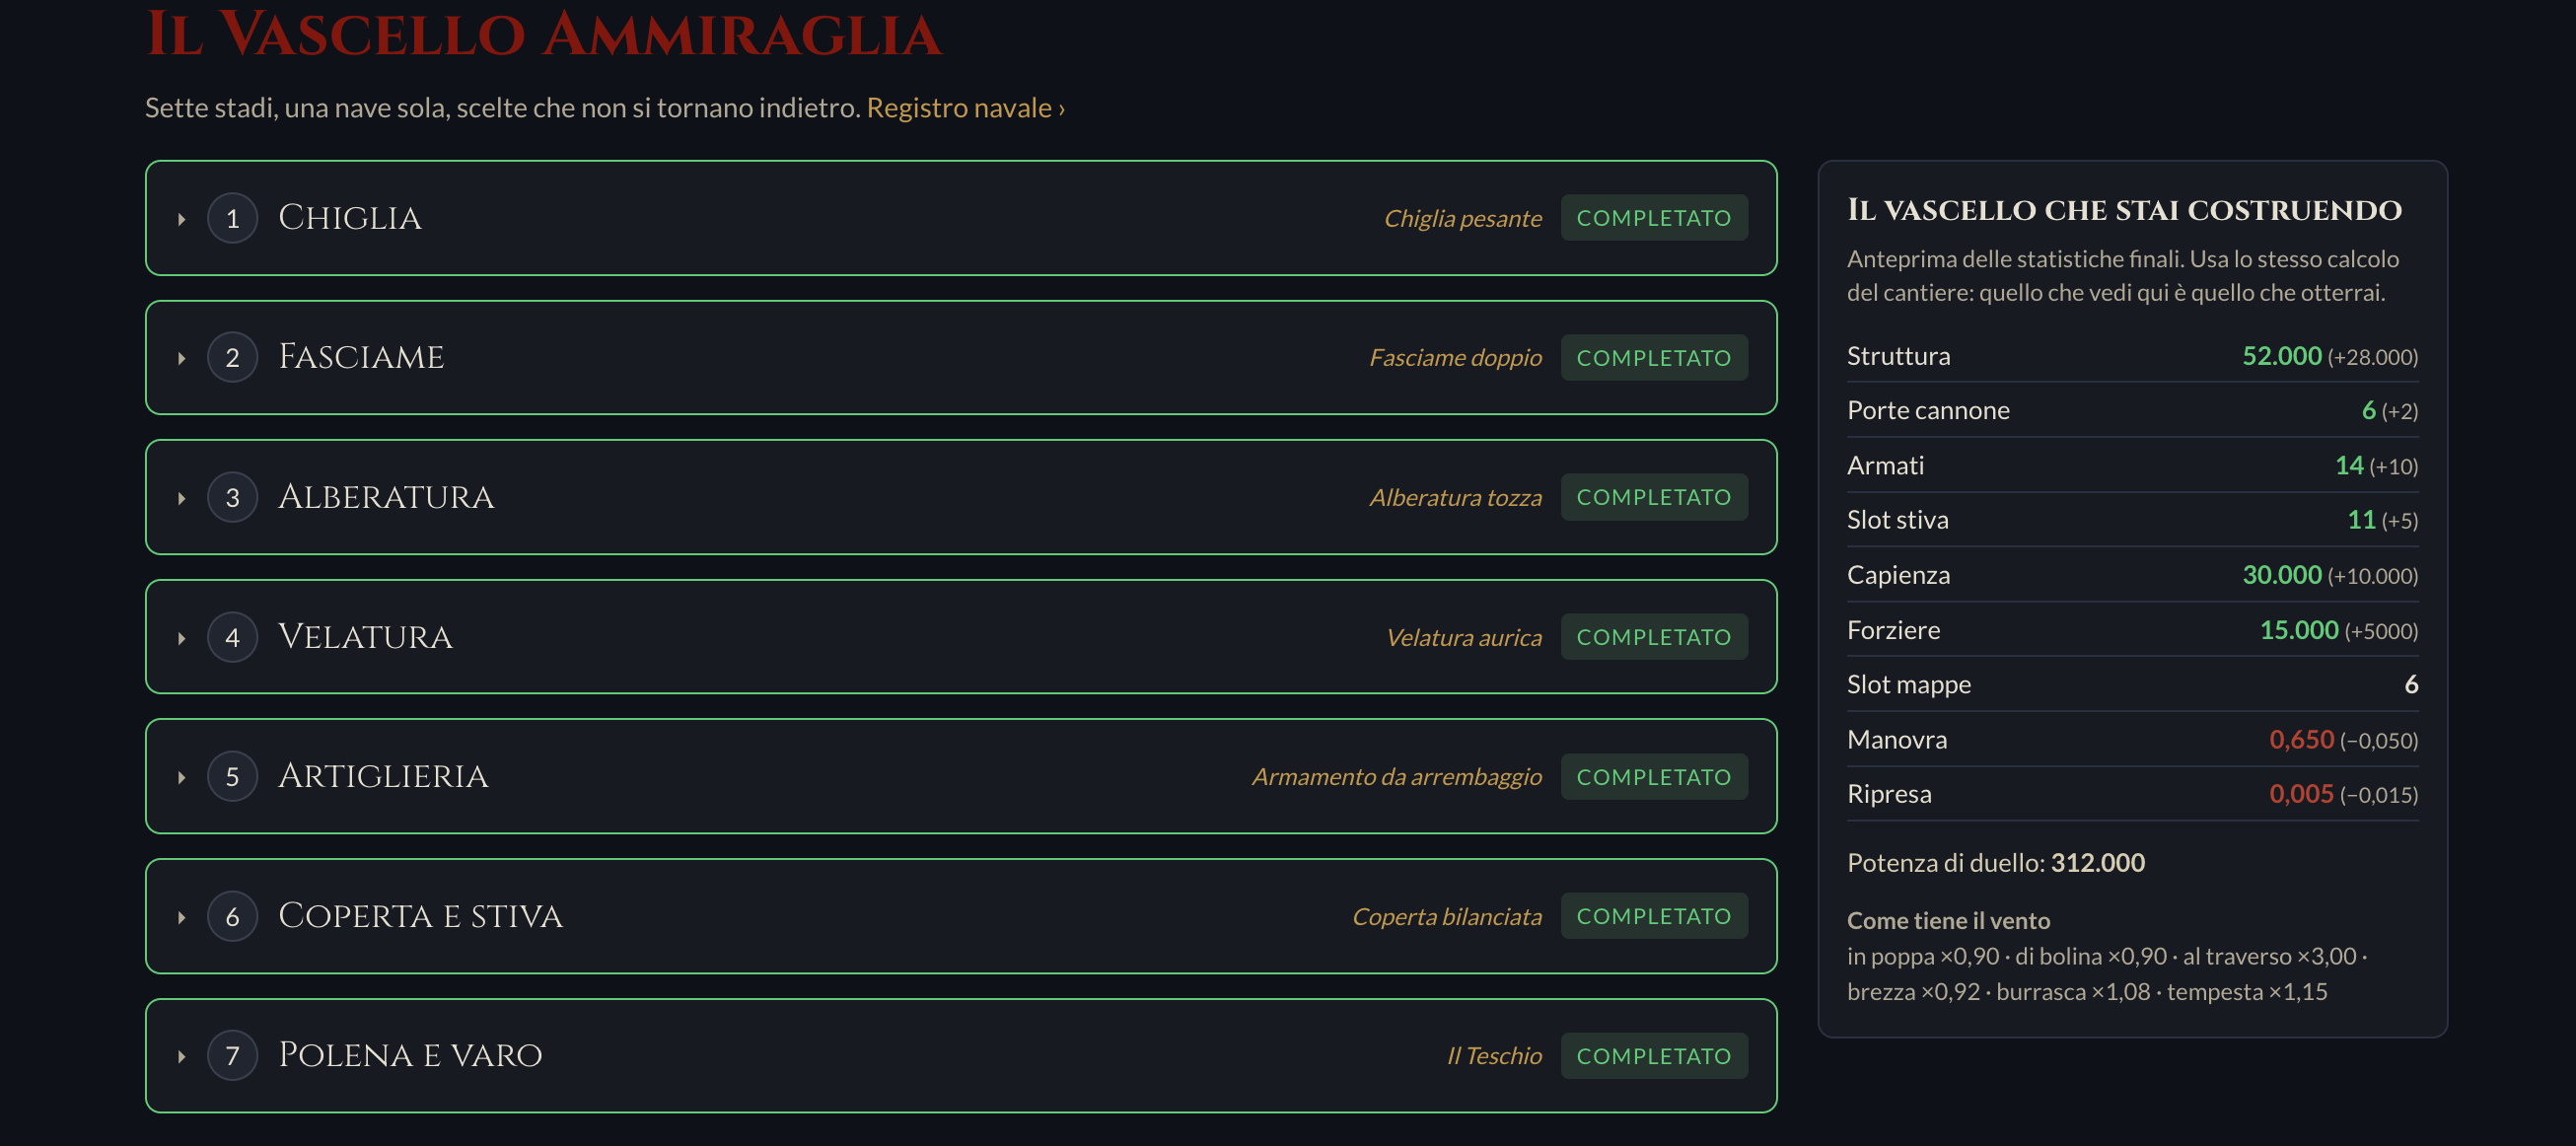
⚖️ A long undertaking: 7 stages, 8 weeks
With the Plans in your warehouse, you lay the keel at the Shipyard and the building proper begins: 7 stages in sequence, one at a time, each with its own working time and its own cost in resources.
| Stage | Days | What it settles |
|---|---|---|
| 1. Keel | 3 | Basic build (light / medium / heavy) |
| 2. Planking | 5 | Hull and strength |
| 3. Masts | 7 | The height of the masts |
| 4. Sails | 7 | The cut of the sails |
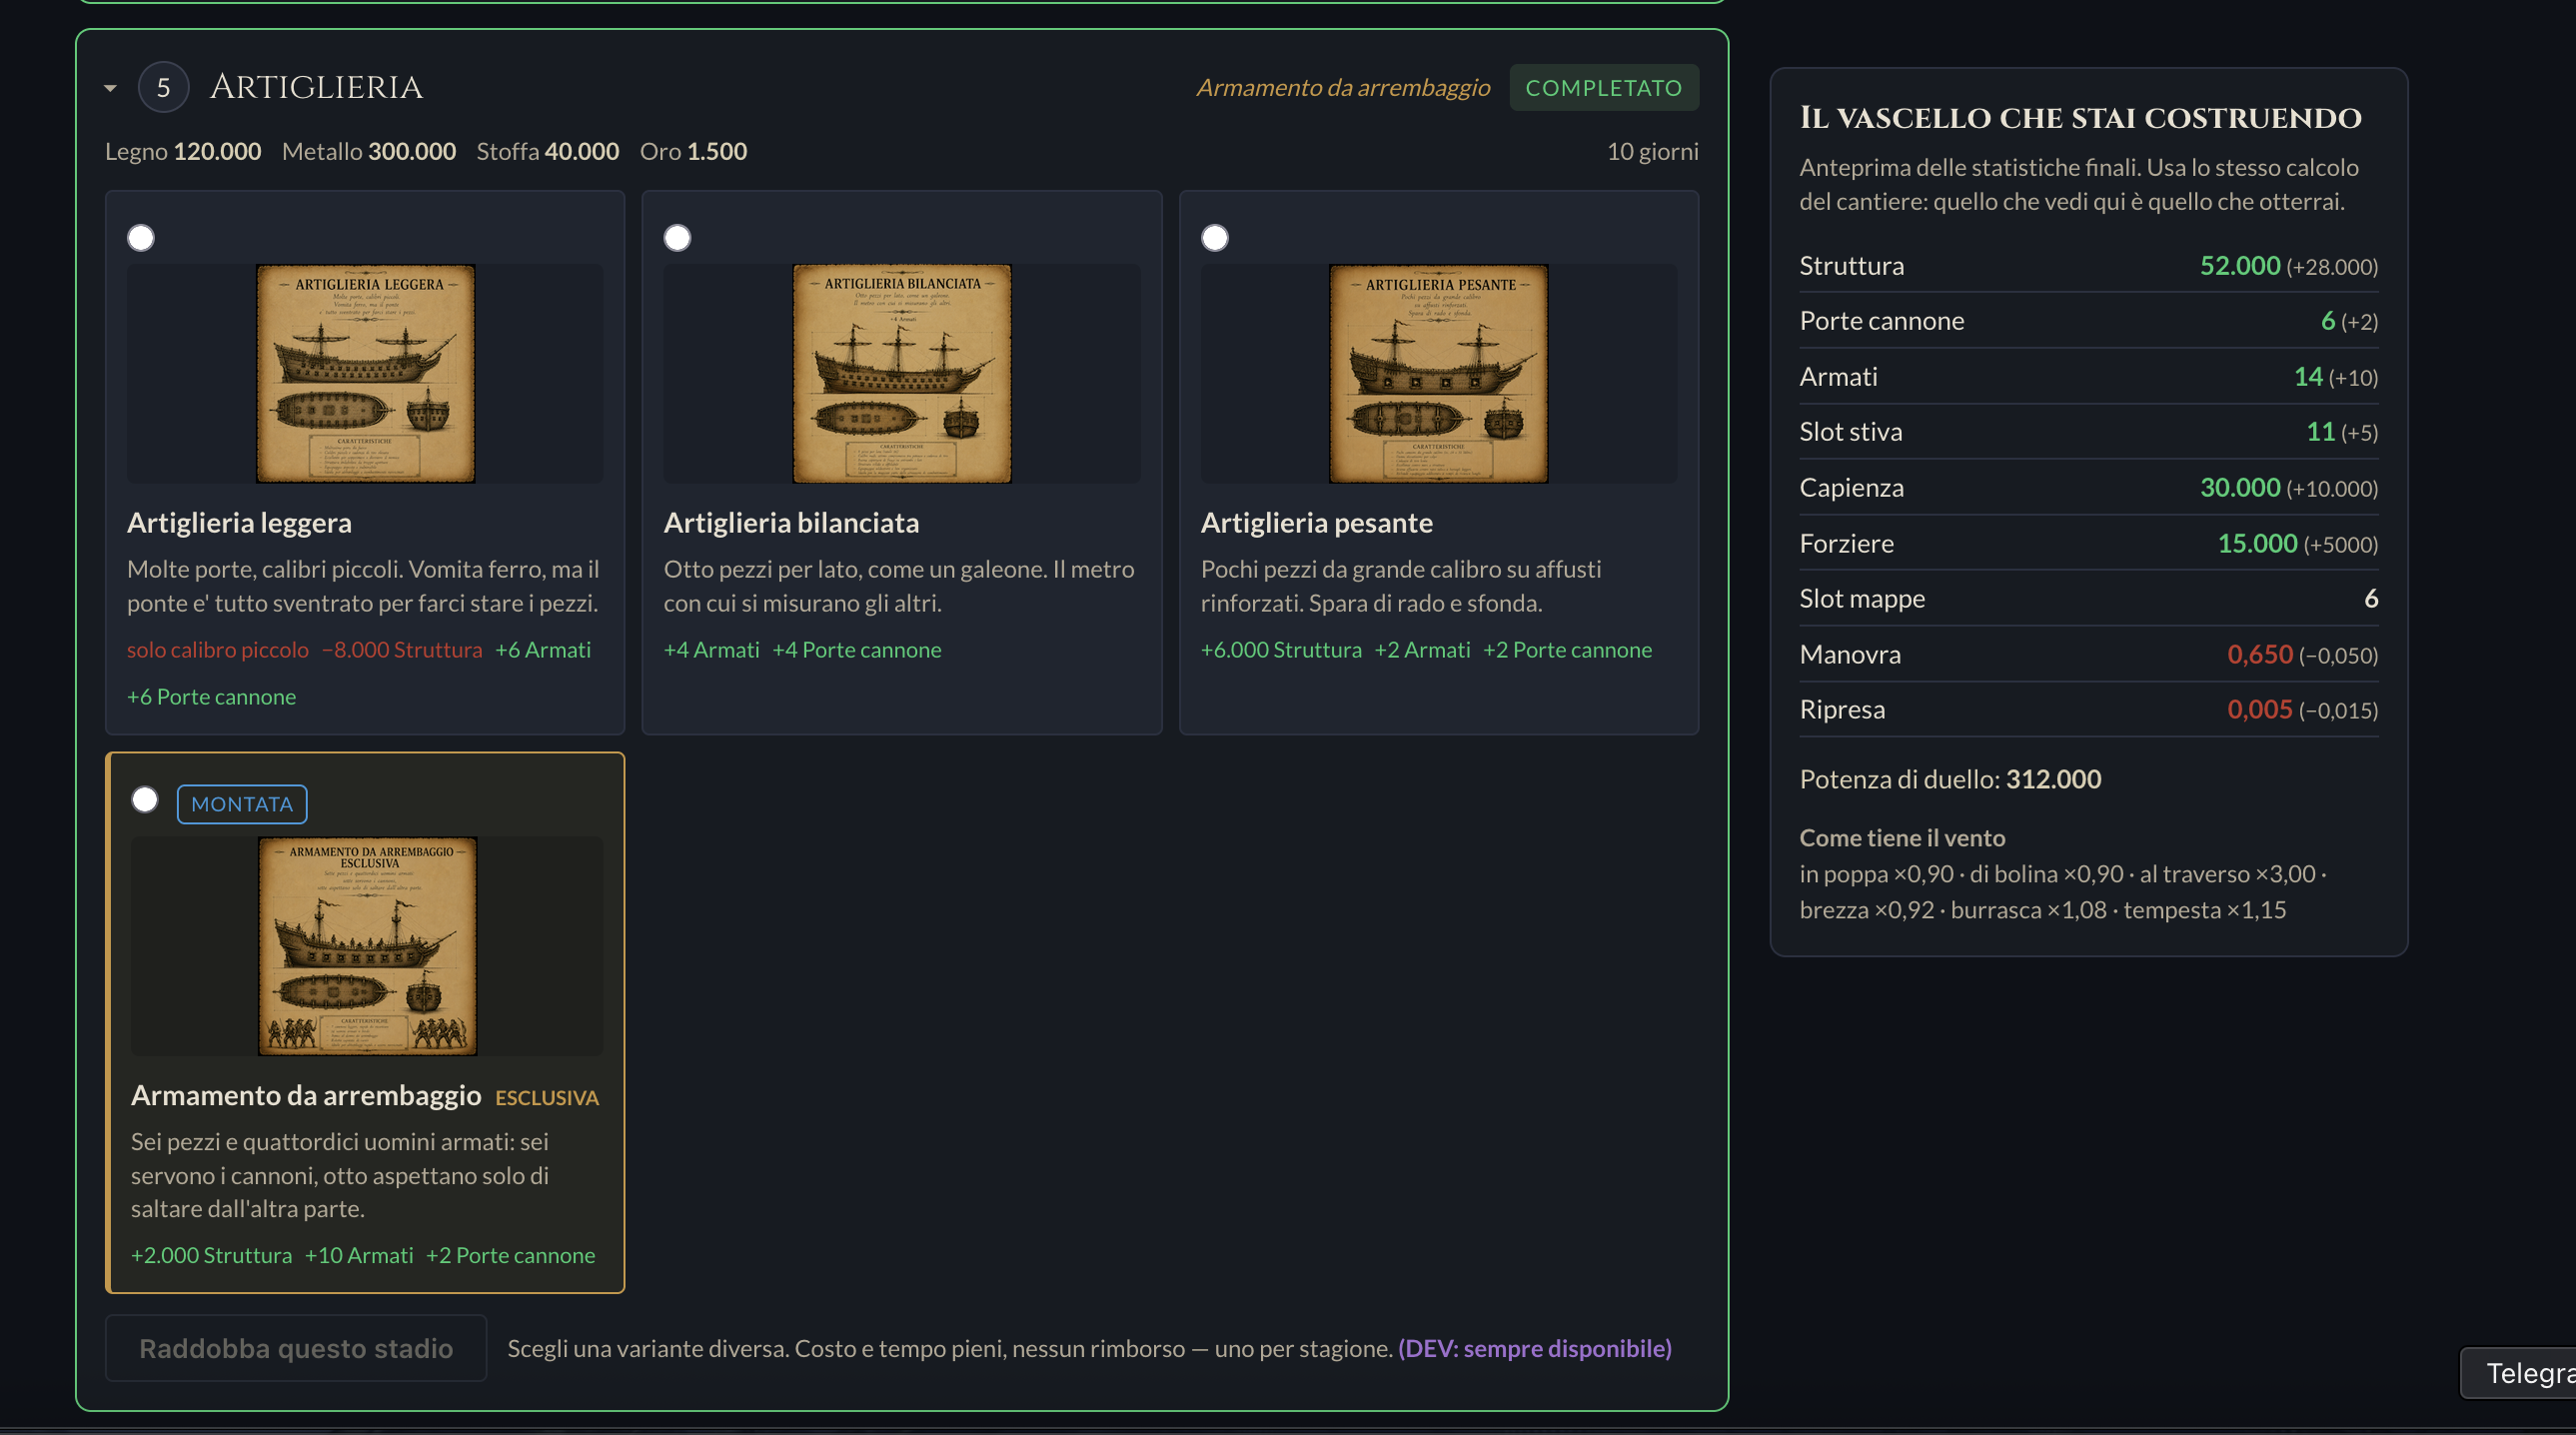
| 5. Guns | 10 | Gunports and greatest calibre |
| 6. Deck and hold | 12 | Carrying capacity |
| 7. Figurehead and launch | 12 | The figure at the bow, and the launch |
| Total | 56 days (8 weeks) | — |
The 7 stages together cost more than 1,000,000 wood, 850,000 metal, 650,000 cloth, 4,000 gold and 12 barrels of rum — not a project for a single island, but for a grown economy. Finishing the last stage brings a hefty launch bonus in score (the Lord category).
🎨 Making her yours: 16,384 combinations
No two Flagships are built alike. Every stage, when it starts, offers 4 variants to choose from: 3 common to all factions plus 1 exclusive to your own (Pirates, Merchants or Navy — the other two factions' exclusives cannot even be selected). Every variant is meant to be zero-sum: it strengthens one quality and weakens another, never a straight upgrade.
47 = 16,384 possible sets of choices for each faction — over sixteen thousand different Flagships across drive, hull, sails, guns, hold and figurehead, all within the same scheme of 7 stages.
The choices show on the outside too: the figurehead follows the variant chosen at the 7th stage, the cut of the sails changes with stage 4 (square, lateen or gaff), and some faction exclusives even impose a recognisable livery on hull or sails — black for the Pirates, a crown for the Navy, a convoy for the Merchants. With enough choices "in keeping" with your faction (or with one coherent archetype — light, heavy, cargo, war) the ship also earns an honorary title, worked out afresh at every stage completed.
A simulator shows the exact statistics of every combination before you choose, and the public Ship Registry lists every Flagship in the game with each captain's progress, title and choices.
☢ If she sinks: a wreck, not a loss
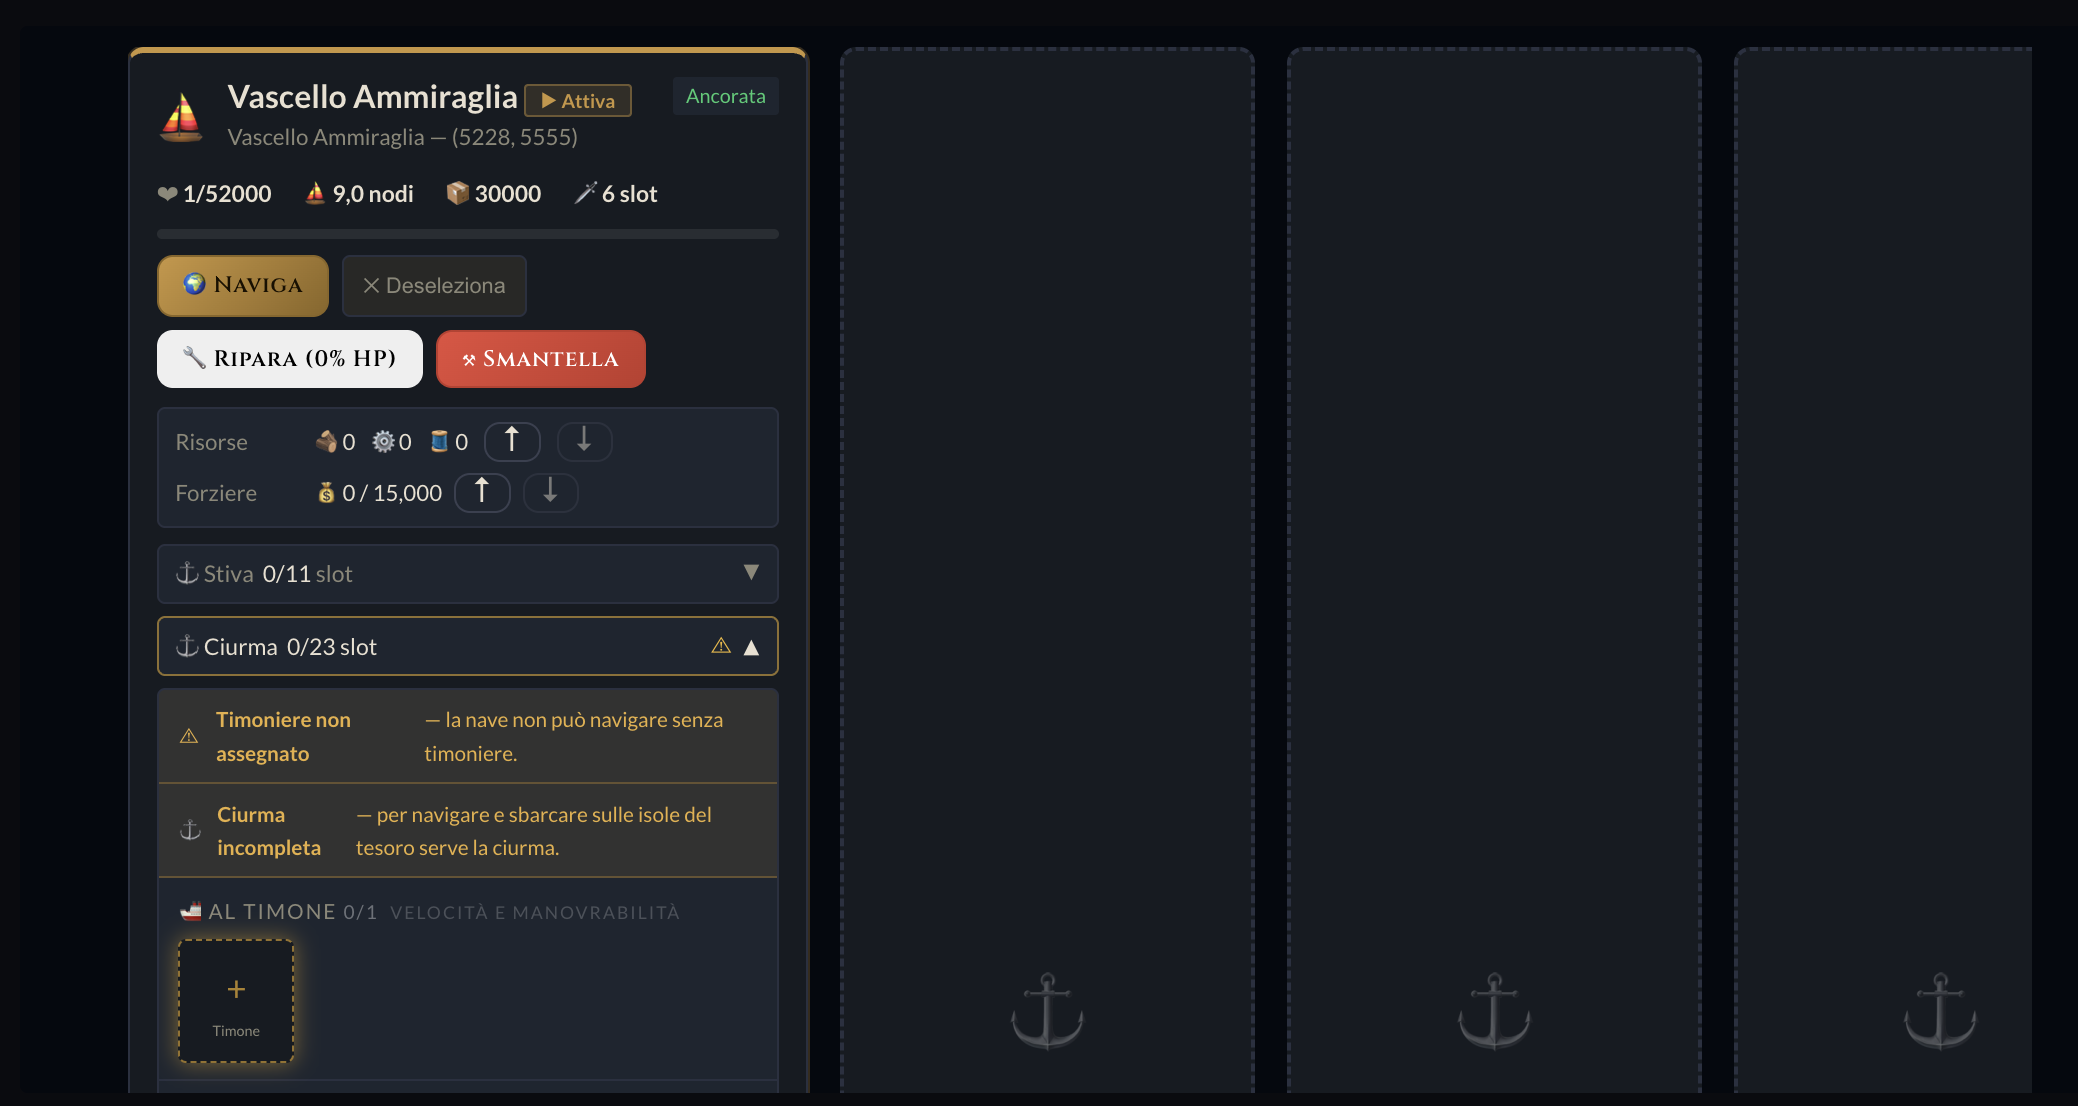
When the Flagship's HP reach zero, the rule that governs other ships does not apply. She still returns to her island's quay, but as a wreck: HP all but gone, gunports shut, unable to move until she is refloated. Her name, her building choices, her title and her figurehead are untouched — only the cargo and the ammunition in the hold are lost.
- While she is a wreck you can not start new stages, nor a Great Refit.
- To refloat her you must pay about 30% of the total cost of all 7 stages (roughly: ~300,000 wood, ~255,000 metal, ~195,000 cloth, ~1,200 gold, 4 barrels of rum) and wait 3 days of work.
- At the end she is back in the water with her HP restored: ready to sail, not to be rebuilt from scratch.
Ocean Map & Routes
The Map page is your headquarters for planning voyages and keeping track of the waters you have explored.
🔒 First you need: Cartography
To reach the Ocean Map you must first complete the Cartography research at the Laboratory. Without it the page is locked and only invites you to unlock it.
Once unlocked, the map shows the tiles you have already explored with your ships (a "fog of war"): the waters you have crossed stay visible, the rest of the world is dark until you sail over it.
🌏 What you see on the map
- Your islands and the NPC ports — always visible, even outside explored waters.
- Player islands and treasure islands — visible once sighted, told apart by type (tropical, volcanic, cursed, atoll).
- Rocks — visible only in explored waters. Remembering them helps you plot safe routes.
- Your ships — in real time, at their current position.
The ⚓ Centre on ship button at the bottom right brings the view back to your active ship. Drag with the mouse to move, scroll to zoom.
📍 Making a route
From the "Saved Routes" panel on the right, click + Plot Route: the map goes into drawing mode. From then on every click on the map adds a waypoint to the route in progress.
- At most 3 waypoints per route: these are the points the ship will pass through, in order.
- The waypoints are joined by a line showing the planned course.
- Once you have at least 1 waypoint, the 💾 Save Route button lights up.
- On saving you are asked for a name (say "Merchant's Run", "Kraken Hunt").
- Cancel at any moment with ✕ Cancel to throw away the current waypoints without saving.
🚀 Launching a saved route
In the "Saved Routes" panel each route has three actions:
- Launch — loads the route's waypoints onto your active ship. Go back to the sailing page and she will follow them by herself in Route mode. The same as plotting waypoints from the sailing page, but reusable and with a name.
- Rename — changes the route's name without touching its waypoints.
- Delete — removes the route and frees the slot for another.
A launched route becomes the ship's active route: you can change it by hand from the sailing page (clicking the canvas to move or add waypoints) without losing the one saved on the map.
💡 Strategy
- Patrol routes: save a course that circles your islands or your favourite ports, to patrol against pirates and Kraken.
- Trade routes: link your home island to an NPC port and back, launching it on the spot when your hold is full.
- Exploring routes: use waypoints to push into waters the fog of war still hides, and widen the map.
- Pair the route with Reduced Speed (see Sailing) for long hauls that do not wear the crew out.
The NPC Ports
Public trading posts where any captain may moor without a permit.
The Ports are special islands scattered over the map, run by NPCs. They cannot be built and belong to no player. They serve as neutral places to restock and as a hub for trade.
⚓️ Mooring at a Port
As you draw near a Port the "Go ashore at the Port" button appears by itself. Open it and you find a panel with four tabs.
🛡️ Customs
You buy customs protection for the ship currently moored. While the protection lasts, enemy ships cannot attack you as long as you stay near the Port. The options (how long, how much) are set for each port.
The usual formula: fee = base_fee + (ship_max_HP × multiplier). A tougher ship pays more. The protection runs out when the timer does, and must be renewed.
💣 The Port's Market
Buy armament and consumables straight from the Port: cannon shot (three calibres, special variants), gunpowder (different grades), rare goods. Prices are fixed per Port and the stock returns at regular intervals.
There is a handy "Fill ammunition" button to top up the ship's batteries with the right calibre in one go.
📦 Supplies
Buy wood, metal and cloth in blocks, at the Port's price per 1,000 units. Useful in an emergency, when the island is far away or short of production.
🏪 The Bazaar (trading between players)
The Bazaar shows the sell and buy orders players have created at their own Market. You buy from them directly, paying in doubloons from the ship; your own offers are visible to anyone who moors at the Port.
- Filter by resource or item.
- Buy or sell part of an order's quantity.
- Cancel your own orders to get the goods or doubloons back.
Sea Combat
Automatic fire, continuous, in real time. No turns.
There is no "battle screen": when the gunports are open, the cannons fire by themselves at any enemy in range, right there on the sailing map. But before you go looking for trouble the ship must be armed: cannons mounted, gunners aboard, powder and shot in the hold.
⚓ Arming the ship
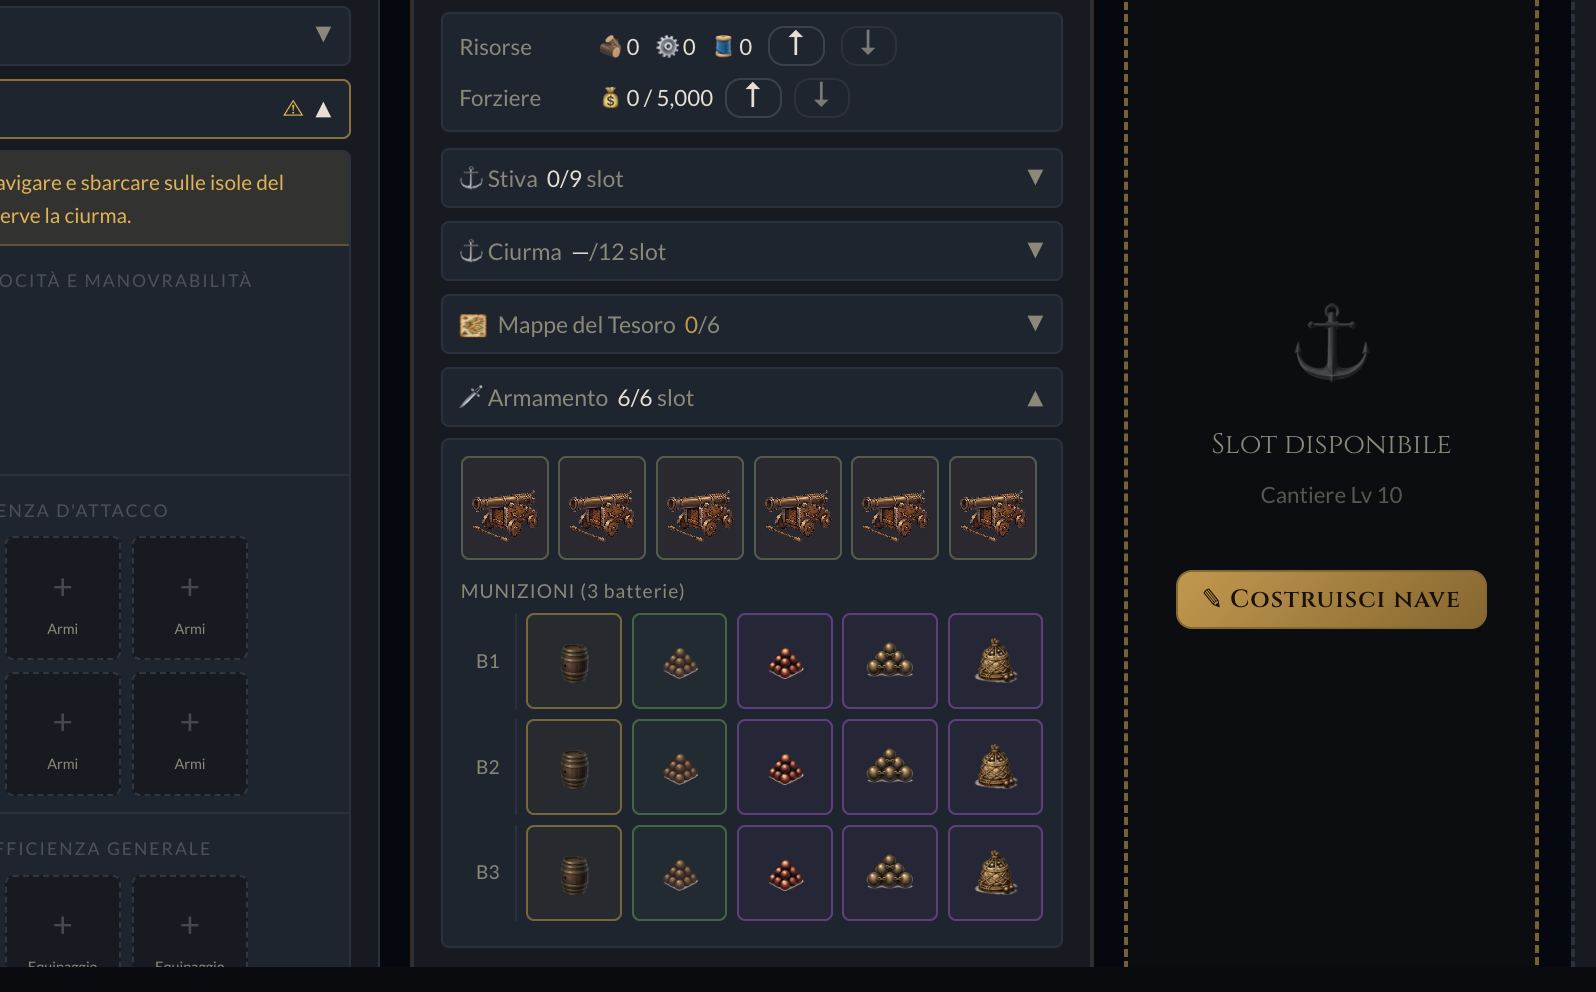
Everything is prepared on the My Ships page, with the ship moored at your base. Three steps: cannons, crew, ammunition.
1. Mount the cannons
Cannons are items in three calibres — small (76 mm), medium (120 mm) and large (180 mm) — made at the Armoury or bought at the Bazaar. Every ship has a fixed number of cannon slots: the even ones (0, 2, 4…) face starboard, the odd ones (1, 3, 5…) face port.
Every pair of slots makes a battery (slots 0-1 → battery 1, slots 2-3 → battery 2…). The two cannons of one battery must be of the same calibre, because they share the same ammunition slots.
2. Take the gunners aboard
A cannon with nobody serving it does not fire. Assign islanders to the 💣 To the Guns role: their strength improves aim and damage, and warriors gain experience with every shot, becoming devastating veterans in time (see the Sailing section).
3. Load powder and shot
Every battery has five ammunition slots, to be filled from the warehouse or the hold. The calibre of the ammunition must match the battery's cannons.
| Slot | Capacity per battery | What it is for |
|---|---|---|
| 💣 Gunpowder | 1 barrel (100 kg) | Needed for every shot. Better grades increase the range. |
| ⚫ Round shot | 100 | The standard shot, full damage to the hull. |
| 💫 Special shot | 100 | Heavier damage; it goes off in place of a round shot with a chance tied to the gunner's luck. |
| ⛓️ Chain shot | 30 | Tears the sails and slows the target. |
| 🔩 Grapeshot | 30 | Sweeps the deck and wounds the enemy crew. |
Shot and powder are made at the Armoury. The recipes for chain and grape unlock with the Armoury's level: Lv 3 for the small calibre, Lv 6 for the medium, Lv 8 for the large.
💣 Gunports
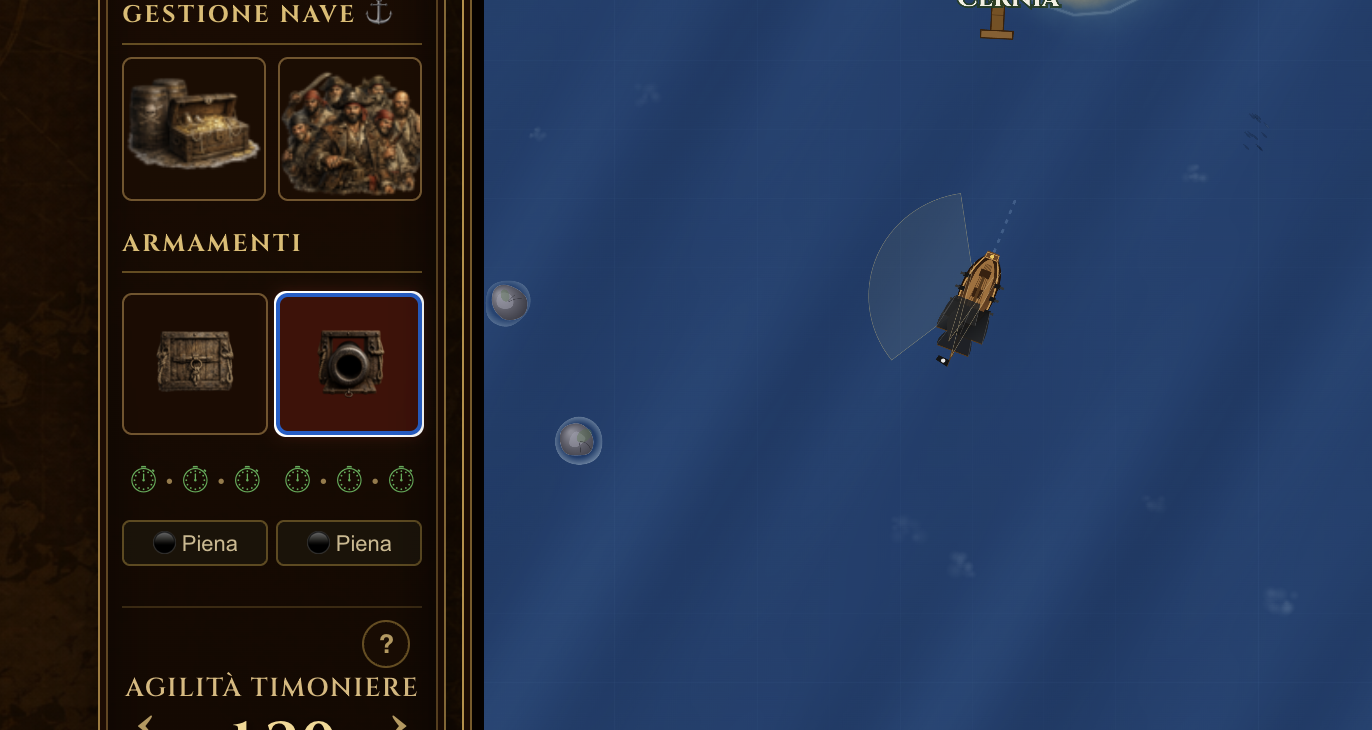
Every ship has two independent gunports, one to a side. The ◀ Port and Starboard ▶ buttons appear on the map and glow red when open.
| Gunport | Side | Cannons involved |
|---|---|---|
| Port | Left (facing the bow) | Odd slots (1, 3, 5…) |
| Starboard | Right | Even slots (0, 2, 4…) |
⚫ The families of shot: Round, Chain, Grape, Harpoon
For each broadside you choose what to fire. Beside the gunport buttons is that side's family selector: ⚫ Round (ordinary/special), ⛓️ Chain, 🔩 Grape or 🔱 Harpoon. Port and starboard are independent: you can slow a ship with chain on one side and rake her deck with grape on the other.
| Family | Hull damage | Range | Special effect |
|---|---|---|---|
| ⚫ Round | Full | Full | Chance of a special shot (extra damage) on the gunner's luck |
| ⛓️ Chain | Reduced (~45%) | ×0.70 | Torn sails: slows the target |
| 🔩 Grape | Almost none (~20%) | ×0.50 | Wounds the enemy crew |
| 🔱 Harpoon | Negligible (~10%) | ×0.50 | Captures a Kraken below 25% HP (~70% a broadside) |
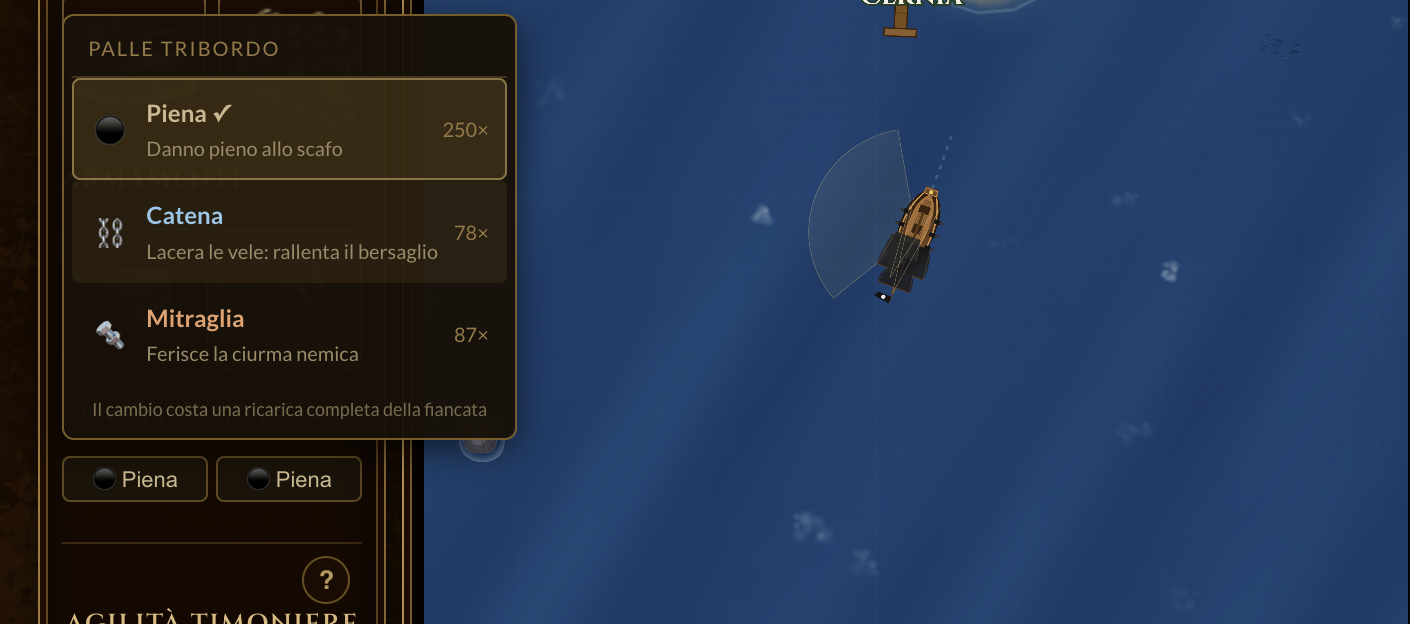
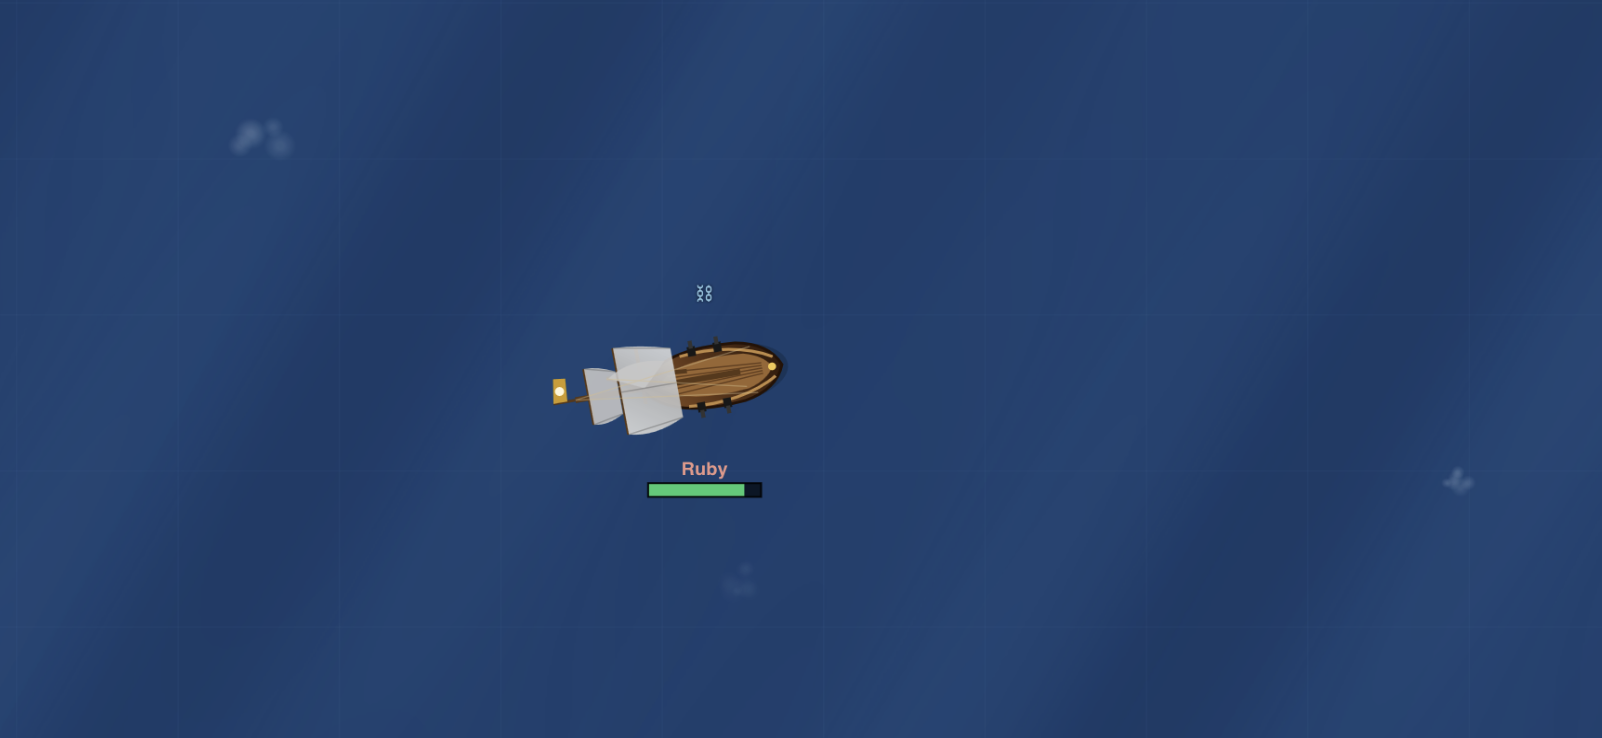
⛓️ Chain shot: torn sails
Two half-balls joined by a chain, made for canvas and not for planking. Every broadside that tells puts a stack of "torn sails" on the target:
- Each stack slows the ship by 8%, up to 24% (3 stacks).
- Stacks fade by themselves, one every 75 seconds out of the fire.
When to use it: to stop a laden prize getting away, or to shake off a faster pursuer. Remember, though, that with chain you sink a ship far more slowly: slow her first, then go over to round shot.
🔩 Grapeshot: fire on the deck
A spray of shards that leaves the hull nearly whole but cuts down the crew. Every broadside of grape that tells:
- may wound every member of the enemy crew (the helmsman excepted) with a chance of about 35%, whatever state the ship is in;
- wounds at most 5 members a shot, and those wounds are worse (damage ×1.5) than from an ordinary shot;
- needs you to close: the range is halved.
When to use it: to disarm an opponent without sinking them — wounded gunners stop firing — or to soften the deck before a boarding. The wounded are treated afterwards by the apothecary at the infirmary.
🎯 Aim, range and damage
Base range works out as max(120, range_in_tiles × 40). A cannon with range 3 covers 120 world units, one with range 7 reaches 280. Better powder increases the effective range; chain and grape reduce it (the range circle on the map follows the family selected).
Not every shot tells: each cannon has a chance of missing (up to 20%), lowered by its gunner's strength — and in part by their experience.
cannon_damage = rand(min_damage … max_damage) — raised by the gunner's strength and experience× (1 + shot_damage_bonus / 100)× family_multiplier (round 1.0 · chain ~0.45 · grape ~0.20)total = the sum of the cannons that firefinal_damage = max(1, round(total - target_defense × 0.30))
⚙️ Cannon efficiency
Every mounted cannon has an efficiency that depends on who serves it and what state it is in:
efficiency = (base + gunner_experience) × (condition / 100)
- The gunner's experience grows by firing (only warriors gain it): the more practised, the more efficient the fire.
- The condition (0–100) is the piece's wear: it drops with every shot and is repaired at the Shipyard for doubloons.
- For a battery it is the mean of the two cannons that counts.
In brief: what depends on what, and what it produces
| Quantity | Depends on | What it produces |
|---|---|---|
| Experience of the gunner |
Grows by firing (only warriors) | Raises efficiency → less powder |
| Condition (wear) |
Falls with every shot; repaired at the Shipyard | ① Feeds efficiency · ② damage penalty below 90 |
| Efficiency | = (base + experience) × condition/100 (in a battery: the mean of the 2 cannons) |
Only powder consumption |
Efficiency → powder per shot
| Efficiency | Powder burnt |
|---|---|
| 100 | ×1.0 (the least) |
| 50 | ×1.5 |
| 0 | ×2.0 |
Consumption starts from a base tied to the calibre (small, medium, large): bigger cannons burn more powder regardless.
Condition → damage penalty (only below 90)
| Condition | Damage |
|---|---|
| ≥ 90 | Full (0%) |
| 80 | −2% |
| 45 | −10% |
| 0 | −20% (the most) |
⏳ Reloading
Every cannon has its own reload timer (velocita_ricarica in seconds, 8 by default). Two cannons on the same side reload independently. Changing the family of shot, on the other hand, silences the whole broadside for one full reload cycle before it can open fire again.
💥 Sinking
When a ship's HP fall to 0:
- She returns by herself to
docked(at anchor). - The gunports are closed automatically.
- HP are restored to 15% of maximum.
- Owner and attacker both get a notification.
🧭 Animation on the map
Combat events are shown right on the canvas: a yellow-orange track from cannon to target, a flash on impact, damage numbers floating upwards (red if you are hit, orange if you are hitting).
Player Protection
Who you can attack, who can attack you, and where you are safe.
The sea is open to everyone, but it is not a free-for-all: a captain who has just set sail cannot be sunk by someone who has been sailing for months. The rule is based on the player's level, grouped into six bands. What counts is the band, not the exact level: a level 42 and a level 58 are on equal footing.
| Band | Name | Levels |
|---|---|---|
| 1 | Recruit | 1 – 9 |
| 2 | Sailor | 10 – 19 |
| 3 | Privateer | 20 – 29 |
| 4 | Sea Wolf | 30 – 39 |
| 5 | Captain | 40 – 59 |
| 6 | Legend | 60+ |
💣 At sea: who your cannons can hit
Cannons fire on their own at valid targets within range. A target is valid if it belongs to:
- your own band;
- the band just above yours.
You cannot hit downwards: a ship in a lower band than yours is untouchable. Nor can you aim too high: two bands above yours, your cannons stay silent. This means that a player one band below you can hit you, while you cannot hit them.
⚔️ Revenge
There is one exception: if a ship from a lower band hits you, you can return fire against it for 10 minutes. It works the other way too: if you attack someone one band above you, from that moment they can fire back. Whoever shoots first never goes unpunished.
👁️ The symbols next to the name
While sailing, a symbol next to the name of other ships sums up all these rules. Hover over the ship and the tooltip explains it in words.
| Symbol | Meaning |
|---|---|
| ⚔️ | You can attack each other: same band, or a revenge is in progress. |
| 🎯 | You can attack them, they cannot attack you: usually a ship from the band above yours. But if you hit them, they can fire back. |
| 💀 | They can attack you, you cannot hit them: usually a ship from the band below yours. If they hit you, you can fire back for a while. |
| 🛡️ | Neither of you can attack: bands too far apart. |
⚓ Where you are safe
In some places a ship is untouchable, and to keep things fair it cannot fire either:
- Near your island: within your island's radius no one can hit you.
- At another player's island, if they granted you their Customs permit.
- Near a Port, if you paid for its customs protection and it has not expired yet.
Boarding is a different case: the boarded ship stays immune for 10 minutes wherever it is, but its cannons keep firing. The tooltip over the ship tells you when it is immune.
⚖️ Navy and Merchants
The Navy cannot fire on a Merchant, whatever their band: trade is neutral. But if the Navy catches them red-handed during an inspection, the Merchant stays exposed for 20 minutes. During that time the Navy can attack them, and their band no longer protects them.
🏰 Island sieges
For sieges the rule is stricter than at sea:
- Recruits (band 1) cannot lay siege, and their islands cannot be besieged.
- From band 2 upwards you can only besiege islands of exactly your own band: neither above nor below.
Islands of captains on vacation are always safe, and so are islands that were just besieged, which stay immune for 5 days. Sieges are only allowed on certain days and at certain hours: outside those windows they cannot start.
🪝 Boarding
Boarding with the grappling hook, reserved for Pirates, ignores bands. However, the target ship must already be badly damaged: below 30% of its HP. It usually gets there by cannon fire, and cannons do follow the band rules. You cannot board a ship on vacation, one that is immune, or one that was just boarded.
Sea Creatures
Monsters on patrol and prey to chase: not everything that swims deserves sinking.
The sea is not only routes and trade: it is peopled by creatures the server controls too. Kraken are aggressive PvE creatures that patrol appointed waters, attack ships nearby and dive to surface elsewhere — sighting one means deciding at once: fight or run. Harpoon prey are the opposite: passive, harmless NPCs that swim freely across the whole world and are taken without a fight, with harpoon ammunition alone.
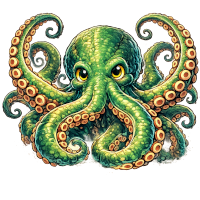
Junior Kraken
A young specimen, modest in HP and in aggression. Ideal for a first encounter.
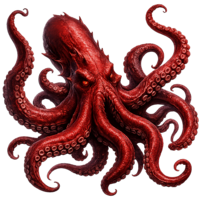
Red Kraken
Tougher and fiercer, with serious tentacle damage. It wants a well-armed ship.
Killer Kraken
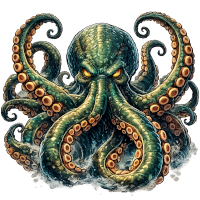
The deadly sort: enormous HP and damage, forever diving. The reward matches.
🔱 The anti-Kraken harpoon
To wound a Kraken ordinary shot is enough: cannons always do damage. The harpoon is for capturing it, and only once it is already at its last gasp. Against ships, NPCs and structures its damage is negligible: throwing one in a duel is powder wasted.
🎯 How a Kraken behaves
- Patrolling — it moves within a patrol radius around a fixed centre.
- Aggression — when a ship enters its engagement radius it gives chase and strikes with its tentacles.
- Diving — every tick there is a chance it dives: it vanishes from the map, becomes invulnerable and surfaces a few seconds later at a new random spot within a certain radius.
- Respawn — once killed it returns after its respawn timer (typically 10 minutes), set by its type.
👑 Capture: from cannon to treasure
When a Kraken's HP fall to 25% or less, a pulsing golden ring appears around the creature and the HUD warns you the beast is spent. From that moment the harpoon can bite.
- Load harpoons into a battery (the grapeshot slot) and select the 🔱 Harpoon family on the right side. Changing family costs a full reload of the broadside: do it before you go alongside.
- Fire. Every battery that tells tries for a hold: about 7 times out of 10 the harpoon keeps it.
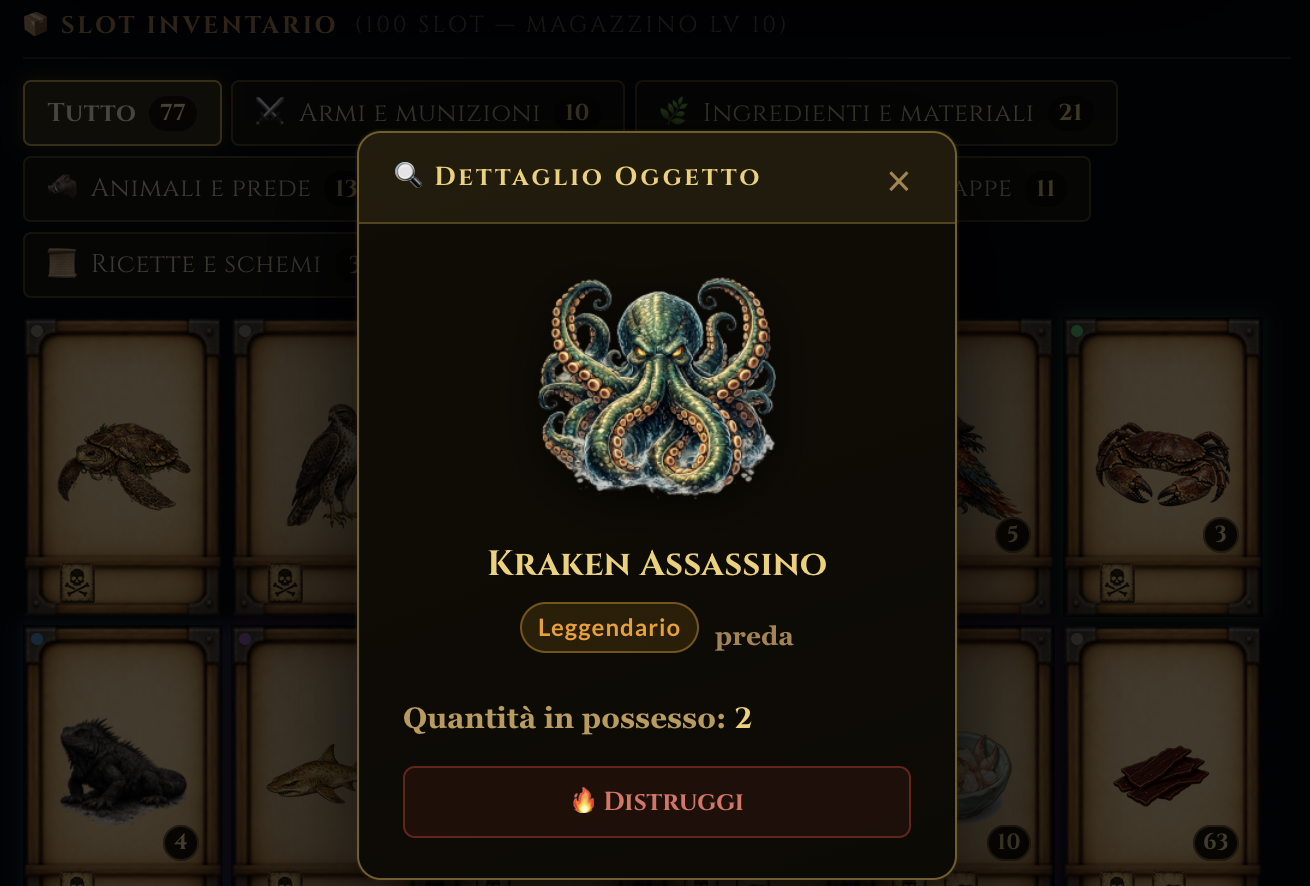
- If it holds, the Kraken vanishes from the map and lands in your hold as a treasure item (say Captured Kraken, or whatever is configured for that type), with the score:
floor(max_HP × 0.05). An 800 HP Kraken is worth 40 points. - If it slips away, the harpoon is spent all the same: you need another broadside.
🔥 What failure costs
If your ship sinks during the fight you lose time, position, the harpoons left in the batteries and a share of your cargo on the way back to base. Plan your line of retreat.
🐟 The harpoon's other prey
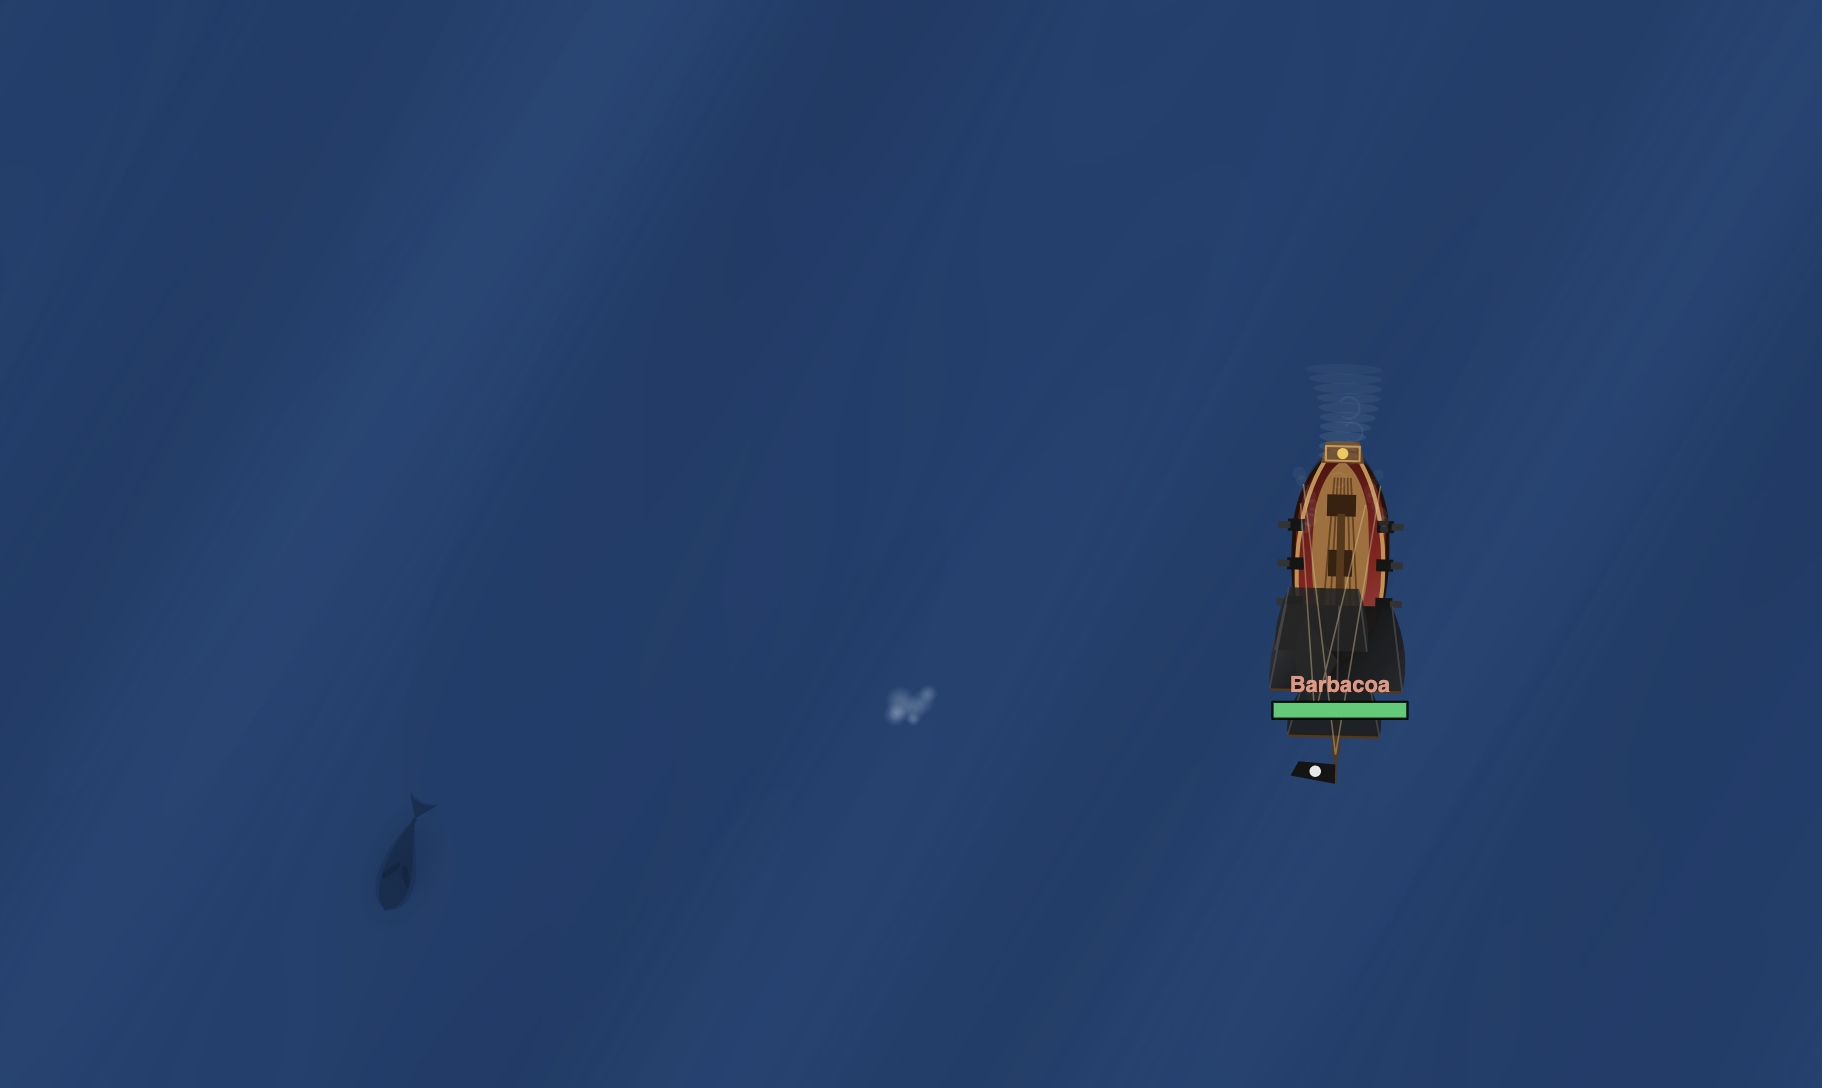
A Kraken is not the only thing you take with a harpoon. Quieter NPCs swim the open sea too: enormous fish, long shadows that cut the surface and change course when you least expect it.
- They are not enemies. They do not attack, they have no hit points and you cannot sink them: cannon shot will not even aim at them.
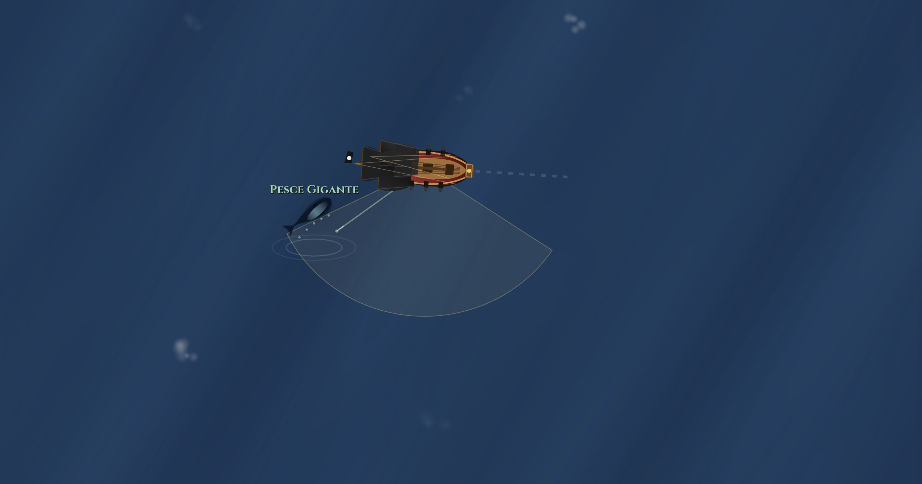
- Only a harpoon takes them. Select the 🔱 Harpoon family on the right side: when the prey is in reach it lights up with a sea-green ring. One shot on target takes it — no dice about it.
- They have to be chased. They turn constantly and now and then they dive, vanishing from the map to surface a little way off. The difficulty is getting alongside with the right side, not hitting them.
- They keep certain hours. Some prey shows itself only in certain phases of the day, or under the right moon: if the sea looks empty, perhaps the hour is wrong.
- Once taken they go into the hold (you need room!) and are worth Explorer points. After a while another one turns up, elsewhere.
The Treasure Islands
9 wild islands to dig, gather, hunt and mine on.
The treasure islands are 9 islands laid out on a 3×3 grid. They belong to nobody and cannot become bases. Each has a type (🌋 volcanic, 🏖 sandy, 🌲 wooded, 🪨 rocky) that decides which animals, ingredients and materials are to be found there.
🗺️ 1. Get hold of a treasure map
To dig you need a treasure map. There are two ways to come by one:
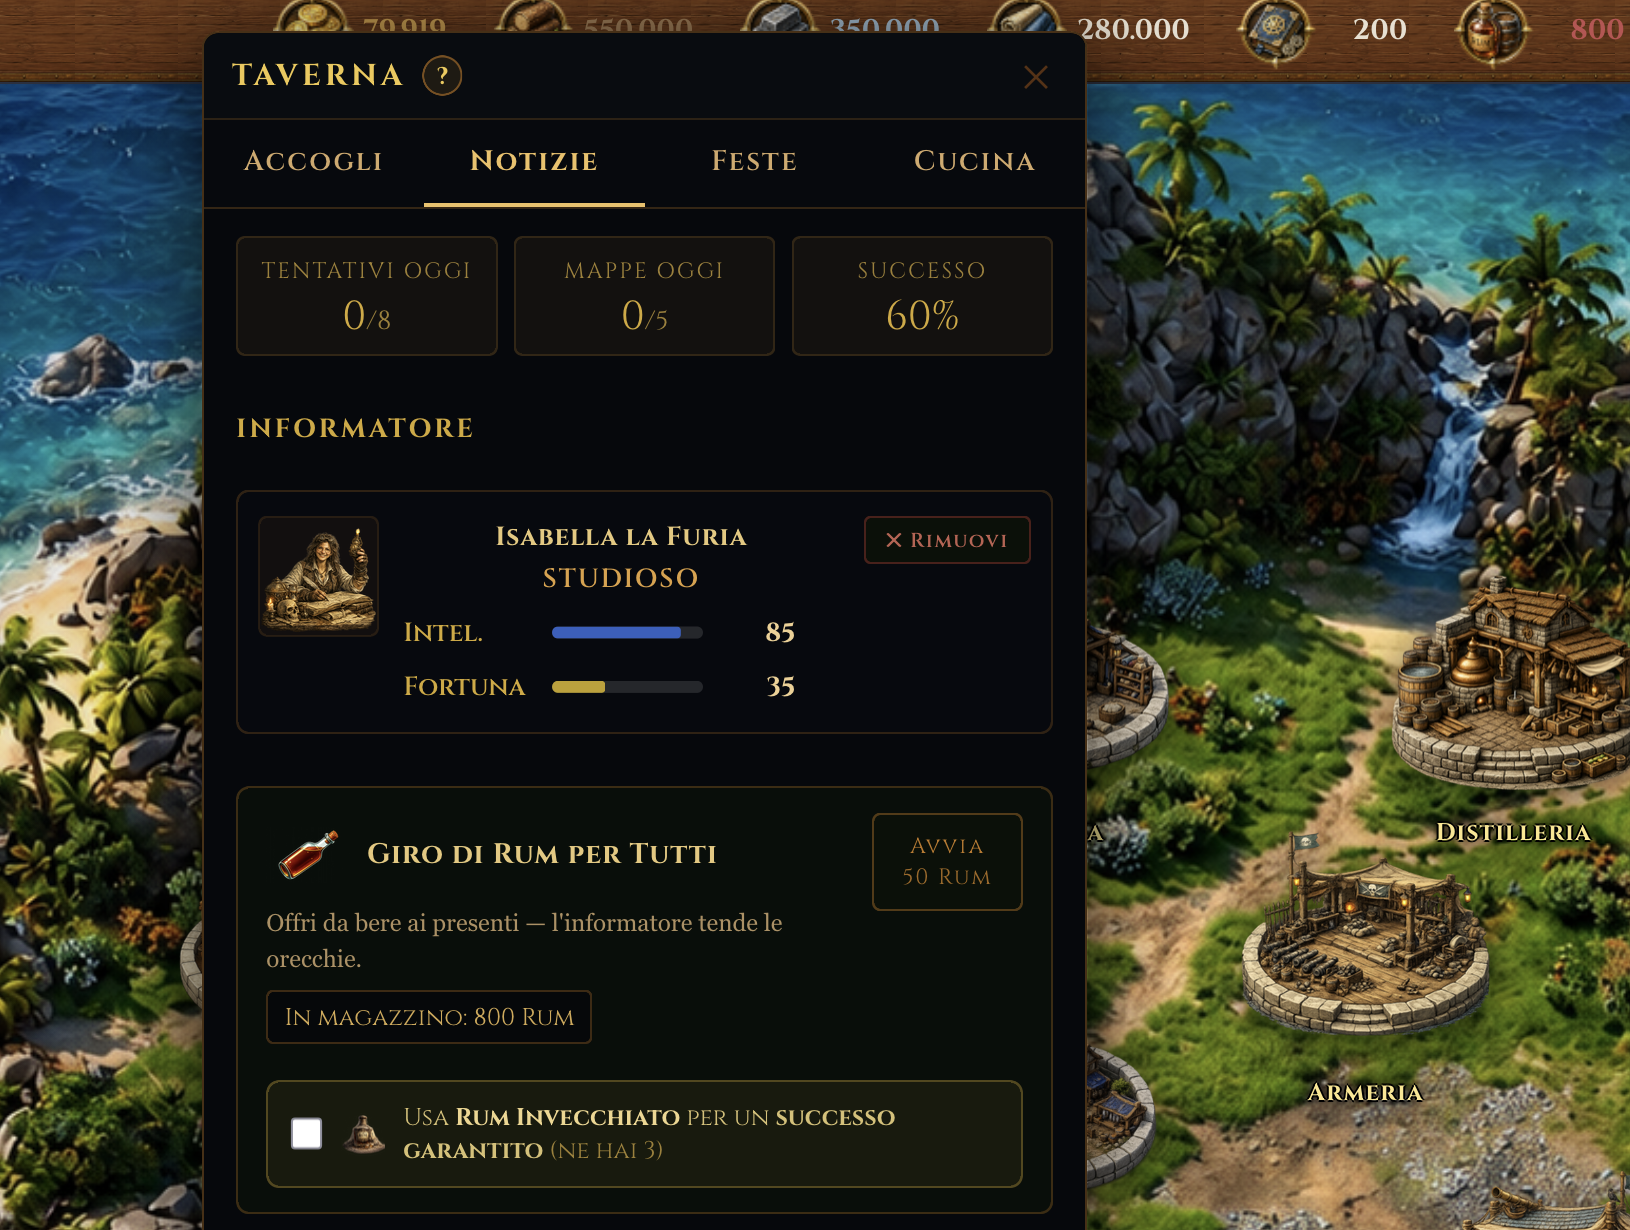
- 🍺 A Round of Rum at the Tavern — appoint an islander as the Tavern's Informant, then stand a "Round of Rum for Everyone" (it costs rum from the warehouse, usually 100). Ten minutes or so later you will learn whether anyone talked: the chance depends on the informant's intelligence and luck. Attempts a day are limited and grow with the Tavern's level, as does the worth in doubloons of the maps you find. The map lands in the island's warehouse, ready to be loaded into a hold.
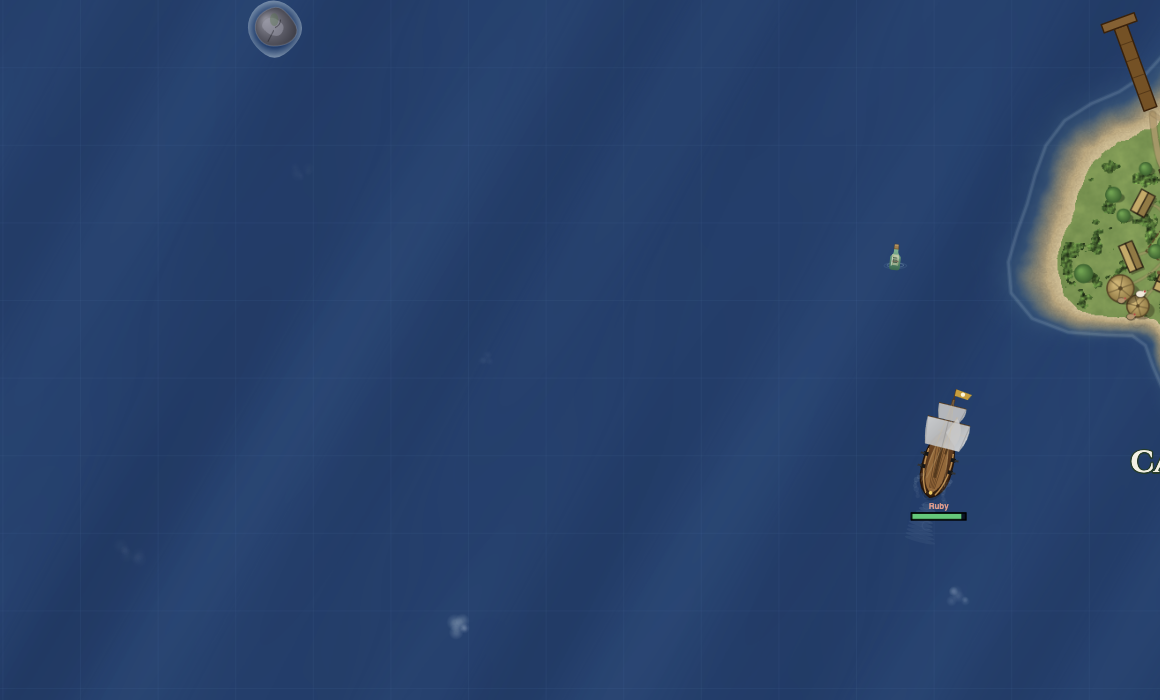
- 📧 Drifting bottles — bottles with a map inside float on the open sea. You see them while sailing: draw near and drop anchor within their radius to pick them up. The map goes straight into the ship's hold, with a treasure worth typically between 35 and 150 doubloons.
🕓 2. Digging for treasure
- Anchor the ship at the treasure island the map points to (from the hold you can see the bearing and an estimated time, if you have a subscription running).
- Start the dig by choosing a crew member: every hole takes 20-30 seconds, less if the pirate is strong and adventurous.
- Resolve the dig: the outcome depends on the chosen pirate's adventure and luck and on how dangerous the island is. Even a partial result yields 25% of the treasure.
🌿 3. Gathering ingredients
Every island holds a stock of ingredients (items of the ingrediente type) that replenishes every 3 days. Ingredients are what the Apothecary needs for potions and remedies.
Success depends above all on the gatherer's luck, with some help from adventure and intelligence; rare ingredients are much harder to come by. You can order up to 5 attempts in a single expedition (never more than the stock left): each attempt lengthens the gathering and tires the gatherer, but every successful attempt yields an ingredient — a good outing can fill the hold in one go. The Tireless Miner skill trains on gathering too, and can hand you bonus ingredients on successful attempts.
Send an adventurer to gather and they will learn the trade: they gain experience with every attempt, and their experience (adventurers only) raises the chance of finding ingredients on later outings.
| Rarity | Max stock | Gathering time |
|---|---|---|
| Common | 3 | 30s |
| Uncommon | 2 | 45s |
| Rare | 1 | 60s |
🐇 4. Big game hunting
With the ship anchored at the island, choose a hunter from the crew (deckhands only: the helmsman and the gunners stay aboard) and an animal to go after. The catch becomes an ingredient for the Apothecary's potions. Every animal has a danger rating and a limited stock that returns over time; dangerous animals can only be hunted with a hunting kit in the hold.
| Danger | Max stock | Refill |
|---|---|---|
| Harmless | 5 | 2 days |
| Middling | 3 | 3 days |
| Dangerous | 2 | 5 days |
| Deadly | 1 | 7 days |
You can hunt in two ways:
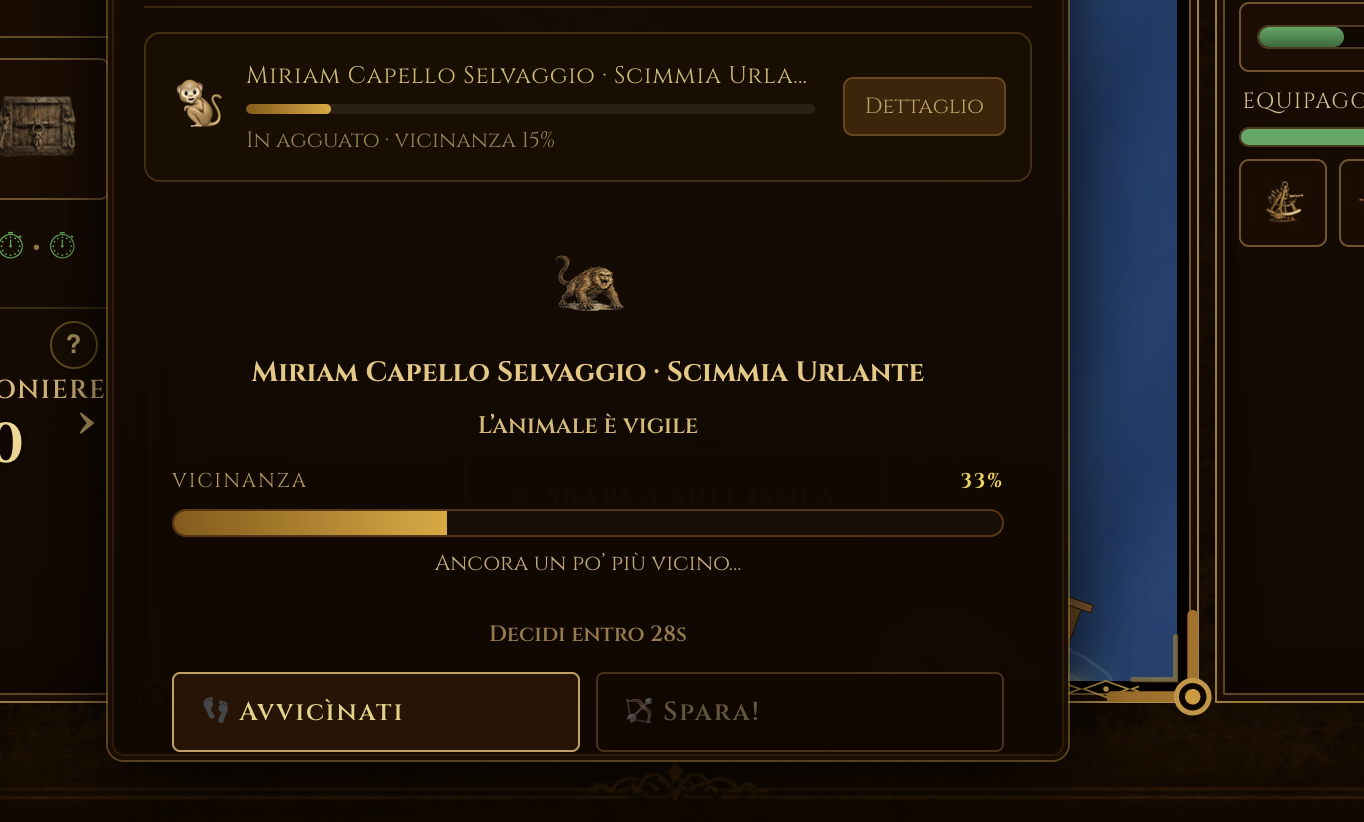
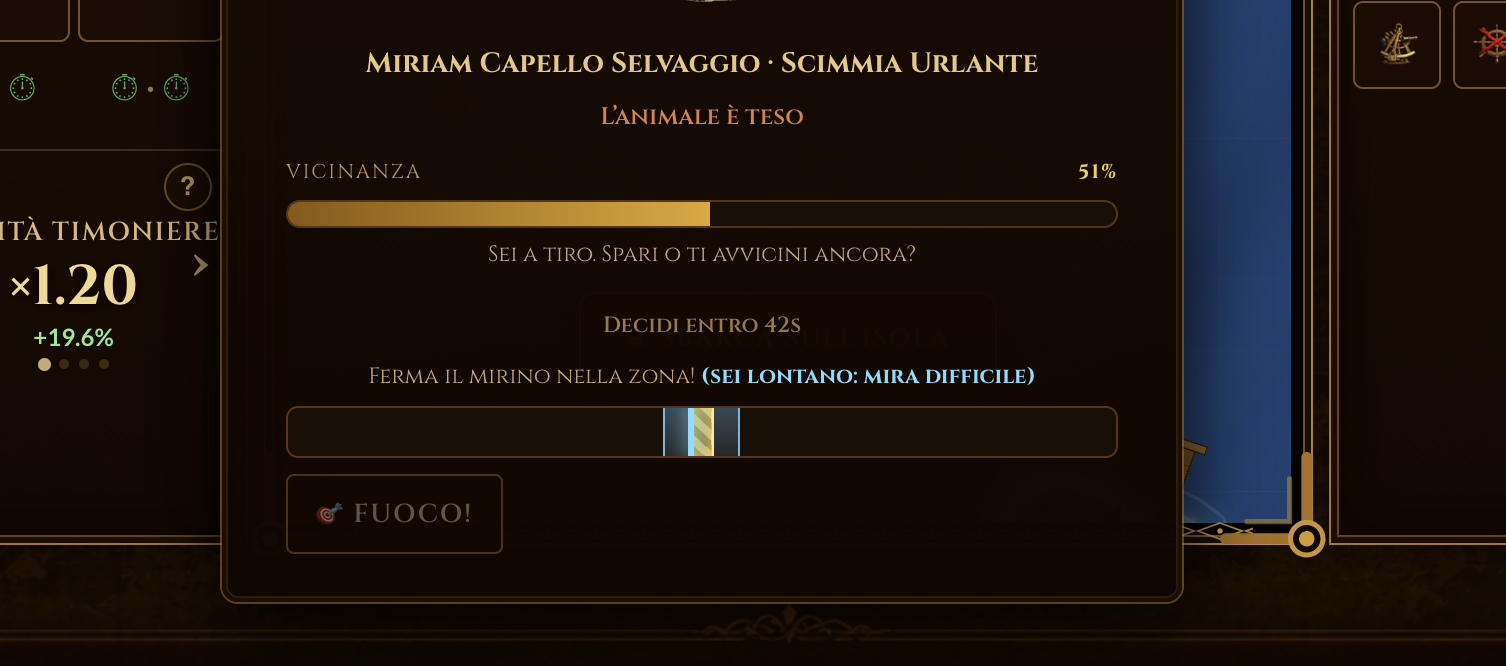
- 🏹 Stalking — the hunt is played out live, move by move. Close in to gain ground: every step brings you nearer the shot, but raises the animal's alarm (from calm to watchful, tense, ready to bolt) and risks it fleeing. Once you are near enough you can shoot: an aiming minigame begins — hit the heart of the target and the catch is certain. At any moment you can choose a careful retreat: no prey, but no risk. Strength and adventure help you close quickly, intelligence and luck help you stay unseen. The nearer you get before shooting, the better the grade of the catch: poor, good or trophy (double the spoils!).
- ⏳ A quick beat — you send the hunter off and wait for the outcome (30 to 90 seconds, according to the animal's difficulty). Success depends mostly on adventure and strength, with help from luck and intelligence. You can try for several head at once, but each attempt yields less.
⛏️ 5. Mining rare materials
You mine fine woods (teak, ancient oak, lava wood, petrified wood), metals and filament, according to the island's type. The fine woods are the ingredients for the empty barrel recipes at the Research Laboratory.
| Rarity | Max stock | Regrowth |
|---|---|---|
| Common | 8 | 12h |
| Uncommon | 5 | 24h |
| Rare | 3 | 48h |
The success of each unit depends above all on the miner's strength, with help from luck and intelligence (weighted differently per material). As with gathering, an adventurer gains experience with every unit attempted, and their experience (adventurers only) raises the chance of mining successfully. The Tireless Miner skill trains on the units mined and can hand you bonus drops.
Research & Technology
The research tree unlocks buildings, recipes and permanent improvements.
The Research Laboratory is the pivot of the island's technological growth. Research nodes are laid out as a web of requirements: each node may want other research already completed and/or buildings at a certain level.
📊 What a research costs
Every research spends the 4 standard resources (gold, wood, metal, cloth) plus Research Points (RP), a sixth resource you accumulate like gold or wood. Research Points are produced passively in proportion to the Laboratory's level and are kept in the Warehouse.
⚙ Research slots
- One research at a time per island. You must wait for it to finish (or cancel it) before starting another.
- The Workshop speeds up all research through the
research_speedbonus. - Rare items such as Fossil Amber and Rune Stone apply a one-off multiplier to the next research started.
💰 Cancelling
Cancelling a research under way returns 50% of everything spent (gold, wood, metal, cloth, Research Points included). Useful if you have changed your plans.
🎯 What research unlocks
- Higher building levels (Shipyard Lv 5, say, wants Hull Strength).
- Crafting recipes at the Armoury, the Apothecary and the Laboratory (fine woods at the higher levels).
- Passive bonuses to the island (production, capacity, speed).
- Advanced ships of the respective faction domains.
Items & Objects
From cannon shot to anti-Kraken harpoons, by way of potions and bottled rum.
💣 Ammunition and gunpowder
Cannons want shot of the right calibre and gunpowder to fire. Shot is made at the Armoury through recipes in the crafting queue; powder gathers by itself at the Armoury and must be drawn off into an empty barrel loaded there (see below).
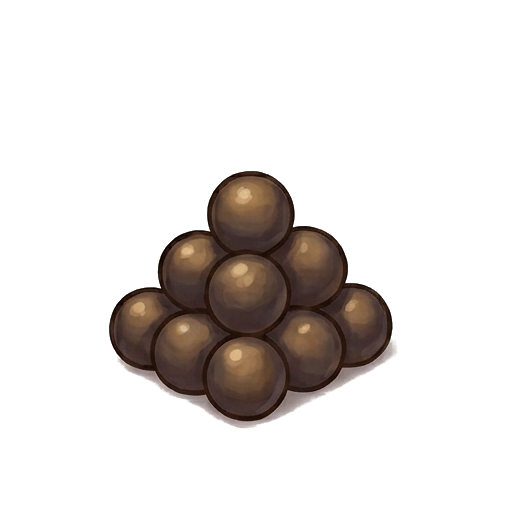
Small cannon shot
For small-calibre cannons. A special version does heavier damage.
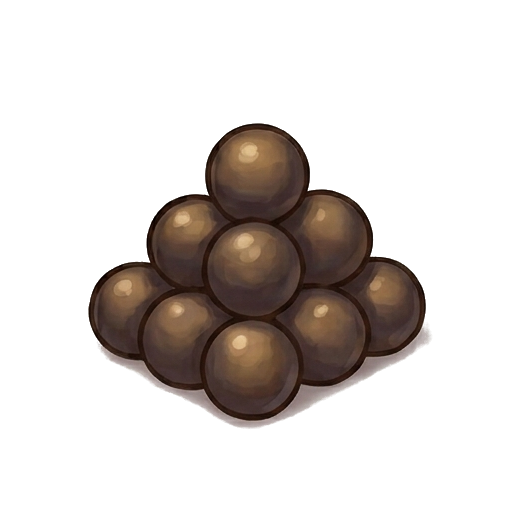
Medium cannon shot
A balance of range and damage, for standard cannons.
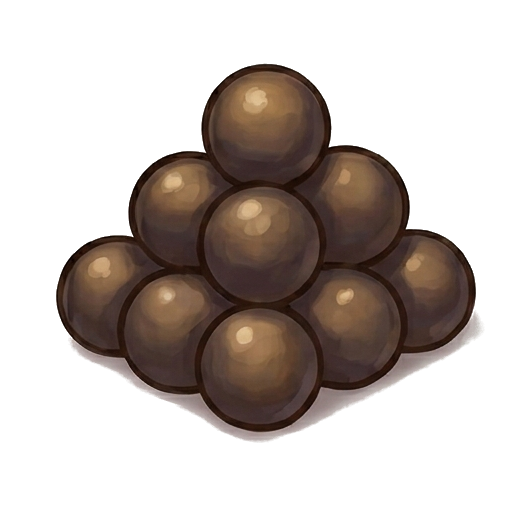
Large cannon shot
The greatest damage, slow to reload. For the heavy-calibre cannons of galleons.
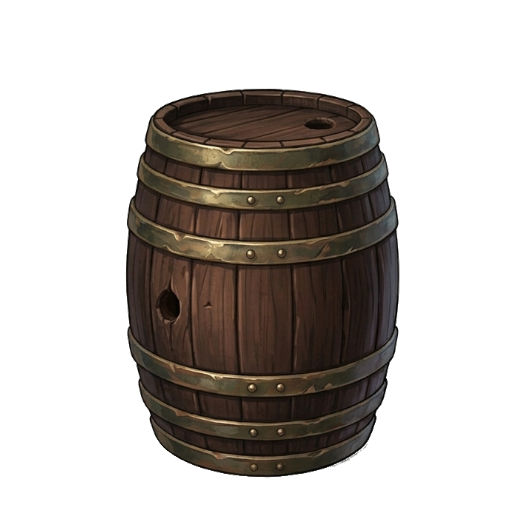
Gunpowder
Needed for every shot. Three grades (standard, medium, long range): the better the grade, the greater the range.
🛡️ Barrels and bottles: the container system
The island produces raw materials (rum, powder) but to carry them aboard or store them you need containers: barrels and bottles. Their life cycle ties three different buildings together.
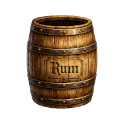
Empty Barrel
Crafted at the Research Laboratory from fine woods (teak, oak, lava or petrified wood). Loaded at the Armoury it takes gunpowder; loaded at the Distillery it takes rum.
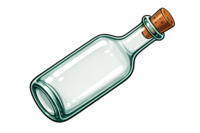
Empty Bottle
Yours free once you have read the map from a bottle found at sea and dug up what it points to. Use it again at the Distillery to bottle rum.
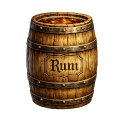
Barrel of Rum
What the Distillery makes: 1 empty barrel + 100 of the island's rum. Drinking it adds +100 rum to your stores wherever you are.
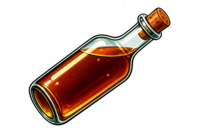
Bottle of Rum
The small version: 1 empty bottle + 10 rum. Drinking it adds +10 rum to your stores.
Barrel of Gunpowder
What the Armoury makes. The Armoury gathers kilos of powder every tick (Lv 1: 0.10 kg; Lv 10: 0.55 kg). Load an empty barrel: when the pile reaches 100 kg, press Fill and the full barrel goes into the warehouse, ready to load aboard.
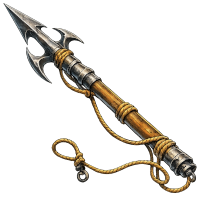
Anti-Kraken Harpoon
Hunting ammunition: it loads into a battery in the grapeshot slot and captures a Kraken already below 25% HP. It is spent on every throw, hit or miss.
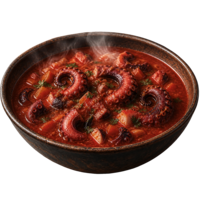
Kraken Soup
A rare item from capturing a Kraken. A powerful buff, according to the kind of Kraken taken.
Laboratory → empty barrel → loaded at the Armoury → the Armoury draws off the powder it has gathered (1 barrel = 100 kg) → barrel of powder in the warehouse → loaded aboard for the cannons.
The Distillery makes rum passively → load an empty barrel (from the Laboratory) or an empty bottle (recycled from a treasure map) → "Fill": 100 rum a barrel or 10 rum a bottle → full container in the warehouse → drink it to get the rum back.
💊 The Apothecary's potions
The Apothecary's Study brews potions and remedies from treasure-island ingredients (hunts, gatherings, digs). One brew at a time per island.
| Potion | Time | Min Lv | Effect |
|---|---|---|---|
| 🧪 Snakebite Antidote | 30 min | 1 | Cures the poison status |
| 💪 Potion of Strength | 60 min | 2 | A temporary bonus to strength |
| ⚓ Crew Elixir | 45 min | 2 | A bonus to the whole crew |
| 🎵 Morale Tonic | 40 min | 1 | +morale to one islander |
Ingredients are looked for first in the island warehouse, then in the holds of moored ships (by quantity, smallest first).
🧵 Clothing (the Tailor's Shop)
At the Tailor's Shop you make garments for your character: hat, mask, coat, trousers, shoes. They are worn by your avatar and shape how your captain looks.

Hat
The iconic pirate headgear.
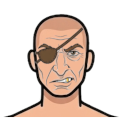
Mask
From bandana to skull, the captain's identity.
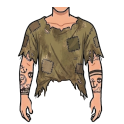
Coat
The torso: from rags to an admiral's frock coat.
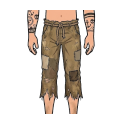
Trousers
Legs and belt.
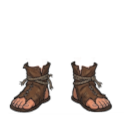
Shoes/Boots
From rope slippers to tall leather boots.
🎁 Treasure-island items
Digging turns up objects particular to each type of island. Every item has a rarity (common, uncommon, rare, legendary) and an effect.
🌋 Volcanic Island
| Item | Rarity | Effect |
|---|---|---|
| Rough Obsidian | common | +10 attack for 48h |
| Sulphur Crystals | common | +20% rum for 24h |
| Volcanic Ore | common | +200 metal (at once) |
| Volcanic Ash | uncommon | +15% wood for 24h |
| Flint | uncommon | +20 attack for 72h |
| Lava Gem | rare | +800 gold |
| Glowing Core | legendary | +150 ship HP |
🏖 Sandy Island
| Item | Rarity | Effect |
|---|---|---|
| Lagoon Pearls | common | +300 gold |
| Exotic Spices | common | +10 morale to the islanders |
| Coconut | common | +8 health to a random islander |
| Fine Rum | uncommon | +25% rum for 48h |
| Blue Coral | uncommon | +60 ship HP |
| Black Pearl | rare | +1500 gold |
| The Oracle's Shell | legendary | +10% informant chance for 168h |
🌲 Wooded Island
| Item | Rarity | Effect |
|---|---|---|
| Fir Resin | common | +80 ship HP |
| Medicinal Herb | common | +10 health to a random islander |
| Fine Timber | common | +300 wood |
| Plant Venom | uncommon | +25 attack for 48h |
| Hallucinogenic Mushroom | uncommon | +15 luck / -5 intelligence to an islander |
| Fossil Amber | rare | the next research at 75% of the time |
| Seed of the Ancient Tree | legendary | +10% wood for 30 days |
🪨 Rocky Island
| Item | Rarity | Effect |
|---|---|---|
| Iron Ore | common | +300 metal |
| Sea Salt | common | +5 morale to the islanders |
| Rough Gem | uncommon | +600 gold |
| Thorny Coral | uncommon | +20 defence for 48h |
| Quartz Crystal | rare | +8 intelligence to a scholar |
| Ancient Compass | rare | +20 XP to the helmsmanship skill |
| Rune Stone | legendary | the next research at 50% of the time |
🔔 How items are used
- Instant — resources, ship HP, islander statistics, morale, skill XP: they take effect at once and the item is spent.
- Temporary — bonuses to production, to combat, to the informant's chance: they last for the hours shown.
- One-shot — research speed-ups: the effect is spent by itself when the next research starts.
- Ship equipment — harpoons, shot, powder: loaded into the hold and spent in battle.
From the Inventory screen you can select an item and confirm its use. For items that act on a target (a particular islander), the game asks you to choose who.
Automatic Cycles
What happens "by itself" while you are away.
The game runs without stopping thanks to a set of cron jobs that update the state of the world every minute, hour and day: building, production, wind, morale, tiredness, island refills, Kraken and much more.
| Process | How often | Effect |
|---|---|---|
| Finishing builds | Every minute | Buildings, ships and research whose timer has run out are completed. |
| Resource production | Every 10 min | Every island produces wood, rum, metal, cloth and research points according to its buildings. |
| Gathering powder | Every 10 min | The Armoury gathers kilos of powder in proportion to its level. |
| The wind changes | Every 10 min | The global wind's direction and strength shift gradually. |
| Real-time sailing | Every second | Ship positions updated, combat worked out, Kraken move and attack, events published over WebSocket. |
| Bottles appear | Every 30 min | New bottles with treasure maps turn up on random sea tiles (15 at most at a time). |
| Port stock refill | Periodic | The NPC Ports restock items and resources at their own intervals. |
| Kraken respawn | Periodic | Kraken that were killed return to the map when their respawn timer runs out. |
| Morale decay | Daily | Every islander loses 1 morale a day. |
| Islanders leaving | Weekly | A roll of 1-100 against morale: those who fail leave the island. |
| Infirmary care | Every 5 min | With an apothecary on duty, every patient recovers +1 health (spending the island's rum). |
| Recovering from tiredness | Nightly (1×/day) | Every islander recovers from tiredness (-15 by default). |
| Treasure island refill | Daily | Stocks of items, ingredients, animals and materials are renewed once they have run down. |